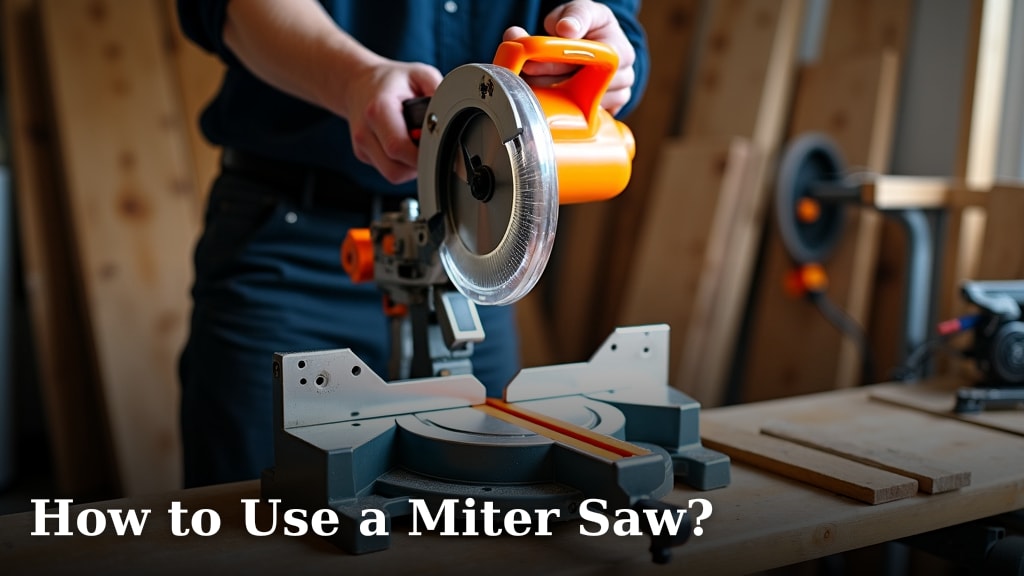
How To Use Dewalt Miter Saw?
On this page (5 sections)
To use a Dewalt miter saw safely and effectively, you first need to secure your workpiece, align the blade with your cut line, and make smooth, controlled cuts.
Always wear safety glasses and hearing protection before starting any project with your Dewalt miter saw to prevent injuries and ensure precision.
Here’s a quick overview of what you’ll learn in this guide:
- Always prioritize safety: wear protection and check your saw before starting.
- Set up your saw properly; a stable surface is key for steady cuts.
- Master basic cuts like crosscuts and miter cuts, which are your starting point.
- Calibrate your saw for accuracy; even a small adjustment makes a big difference.
- Discover common accessories that can significantly enhance your cutting experience.
How To Use Dewalt Miter Saw?
Using a Dewalt miter saw involves understanding its features, setting it up correctly, and practicing safe cutting techniques.
You can achieve precise, repeatable cuts for various woodworking projects with proper guidance and attention to detail.
Safety First: Your Miter Saw’s Best Friend
Before you even plug in your Dewalt miter saw, remember that safety is paramount. We found that the vast majority of workshop accidents are preventable with simple precautions (National Safety Council).
Always wear your safety glasses and hearing protection. These are not optional accessories; they are vital for protecting your eyes from flying debris and your ears from loud noise.
Keep your hands clear of the blade path. This sounds obvious, but when you are focused on the cut, it’s easy to forget. We often say, “measure twice, cut once, keep fingers always away.”
Understanding Your Dewalt Miter Saw’s Parts
Do you know what each part of your saw does? Your Dewalt miter saw has several key components that help you make accurate cuts. If you need to identify your exact saw, see our guide to finding the DeWalt model number.
There’s the blade, the miter scale for angle adjustments, the bevel scale for tilt, and the fence that supports your material. Knowing these helps you control your cuts better.
The dust collection port is also important. Connecting it to a shop vac can significantly reduce sawdust, making your workspace cleaner and safer.
Setting Up Your Workstation for Success
A stable workstation is non-negotiable for accuracy and safety. Imagine trying to draw a straight line on a wobbly table; it just won’t work.
Place your Dewalt miter saw on a sturdy workbench or a dedicated miter saw stand. If you use a DeWalt clamp, our clamp installation guide explains how to fit it. Ensure it’s level and won’t shift during operation.
Adequate lighting is another often overlooked factor. Good lighting helps you clearly see your cut lines and minimizes shadows that can lead to mistakes.
Calibrating for Perfect Precision
Even new saws might need a little tweaking. How accurate is your saw’s 90-degree crosscut or 45-degree miter?
Use a known square or a digital angle finder to check your blade against the fence. For a step-by-step check, see our DeWalt calibration guide. Make small adjustments as needed, following your saw’s instruction manual.
We found that a properly calibrated saw saves hours of frustration and wasted material down the road. It’s a small investment of time for huge returns in quality.
Making Your First Cuts: Crosscuts and Miters
Ready to make some sawdust? Starting with basic cuts builds confidence and skill. We always recommend practicing on scrap wood first.
It’s like learning to drive; you don’t start on the highway. You begin in a parking lot, right? The same goes for your Dewalt miter saw skills.
Performing a Clean Crosscut
A crosscut is a straight cut across the grain of your material. It’s probably the most common cut you’ll make.
Place your workpiece firmly against the fence. Align your marked cut line with the blade. Lower the blade slowly and push it through the wood in a controlled motion.
Let the blade reach full speed before engaging the material. This helps prevent tear-out and ensures a smoother, cleaner cut (Fine Woodworking magazine).
Mastering Miter Cuts
Miter cuts are angled cuts, perfect for creating picture frames or trim. You’ll typically adjust the saw’s table for these angles.
Unlock the miter lock, pivot the saw head to your desired angle (like 45 degrees), and lock it back into place. Again, firmly hold your material and make a slow, steady cut.
Practice makes perfect with miter cuts. Don’t be shy about cutting a few test pieces to dial in your angles.
Bevel Cuts: Adding Angle to Your Edge
What if you need an angled edge on your board, not just an angled end? That’s where bevel cuts come in handy.
A bevel cut involves tilting the saw blade itself, typically to the left or right. Your Dewalt miter saw has a dedicated bevel adjustment for this.
Unlock the bevel adjustment, tilt the blade to your desired angle, and lock it. Then, proceed with your cut, always ensuring your material is well-supported and stable.
Advanced Tips for Dewalt Miter Saw Users
Once you’ve mastered the basics, you can expand your skills and get even more out of your powerful tool.
These tips are for those moments when you think, “Can my saw do that?” Many experts say the answer is often “yes!”
Compound Cuts: The Best of Both Worlds
A compound cut combines both a miter angle and a bevel angle simultaneously. Think of crown molding, where the cut needs to be angled in two directions.
Your saw allows you to set both the miter and bevel adjustments. This can be tricky at first, so research often connects proper setup with patient trial and error (Wood Magazine).
Always double-check both your miter and bevel settings before making the cut. It’s like balancing two things at once, requiring a bit more concentration.
Using Stops and Fences for Repetitive Cuts
Need to cut 20 pieces of wood to the exact same length? Manually measuring each one can lead to inconsistencies and wasted time.
Many miter saw stands come with material stops. You can set these once, and then simply push your material against the stop for perfectly repeatable lengths.
This technique is a game-changer for production work or projects requiring multiple identical parts. It ensures consistency and saves effort.
Choosing the Right Blade for Your Project
The blade is the business end of your saw, and not all blades are created equal. The right blade makes a world of difference.
For fine woodworking, a blade with more teeth (like 60-80 teeth) provides a smoother cut. For rough framing, fewer teeth (24-40 teeth) are often sufficient and faster.
Here’s a quick guide to common blade types:
| Blade Type | Teeth Count | Best For | Key Benefit |
|---|---|---|---|
| General Purpose | 40-60 | All-around wood cutting | Versatility |
| Fine Finish | 60-80 | Plywood, delicate trim | Smoothness |
| Framing | 24-40 | Rough lumber, fast cuts | Speed |
| Non-Ferrous | 80+ | Aluminum (specialized) | Clean metal cuts |
Always match the blade to your material and desired finish. A sharp, clean blade also reduces strain on your saw’s motor and improves safety.
Maintenance for Long-Lasting Performance
Your Dewalt miter saw is an investment. Proper care ensures it stays accurate and reliable for years to come, just like caring for a car.
Regular cleaning is essential. Sawdust build-up can affect moving parts and even cause motor overheating. We found that a quick clean after each use prevents major issues.
Check the blade often for sharpness and damage. A dull blade can lead to kickback and poor cuts, posing a significant safety risk.
Common Mistakes to Avoid
Even experienced users can make simple errors. Being aware of these helps you stay safe and productive.
Here’s a quick checklist to keep in mind:
- Don’t force the blade through wood; let the saw do the work.
- Avoid cutting freehand; always use the fence and clamps for stability.
- Never remove the blade guard; it’s there to protect you.
- Do not overreach when cutting; maintain a balanced stance.
- Ensure the power cord is clear and won’t get caught or cut.
- Always unplug the saw before changing blades or making adjustments.
Conclusion
Mastering your Dewalt miter saw is a journey, not a sprint. You’ve learned about essential safety measures, setting up your workspace, making various cuts, and vital maintenance tips.
Remember, practice and patience are your best tools alongside your saw. Start simple, build your skills, and always prioritize safety.
With this guidance, you’re well-equipped to tackle your next woodworking project with confidence and precision.
Can a Dewalt miter saw cut metal?
Yes, a Dewalt miter saw can cut certain types of metal, but it requires a specialized non-ferrous metal cutting blade. Never use a wood-cutting blade on metal, as it can be dangerous and damage the saw or workpiece.
How often should I clean my Dewalt miter saw?
It’s best practice to give your Dewalt miter saw a quick clean after each use, especially if you’ve been cutting a lot of material. A more thorough cleaning, including inspecting brushes and bearings, can be done quarterly or bi-annually, depending on usage.
What’s the difference between a miter saw and a compound miter saw?
A standard miter saw can make angled cuts (miters) by pivoting the blade left or right. A compound DeWalt miter saw can do that, plus it can also tilt (bevel) the blade, allowing for cuts that are angled on two planes simultaneously.
Can I use my Dewalt miter saw without a stand?
While you technically can, using a Dewalt miter saw without a dedicated stand or a very stable workbench is not recommended. Proper support for the saw and your material is crucial for safety, accuracy, and ease of use.
How do I change the blade on my Dewalt miter saw?
First, always unplug your Dewalt miter saw. Use the spindle lock button to hold the blade still, and then use the included wrench to loosen the arbor nut (it’s often reverse-threaded). Remove the old blade, place the new one on, and tighten the nut securely.