
What Can a Beginner Build with a Miter Saw and Basic Tools?
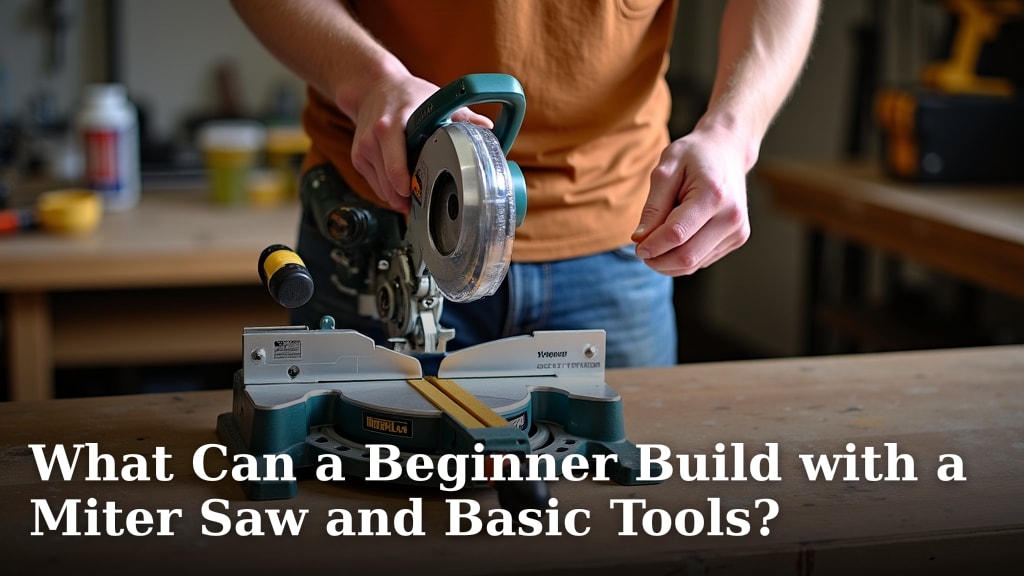
A beginner can build a surprising variety of projects with a miter saw and basic tools, including picture frames, simple shelving, planter boxes, and even small tables. A miter saw makes accurate crosscuts and angled cuts easy, opening up many possibilities for your first woodworking projects. You don’t need a huge workshop to get started.
When you combine a miter saw with a tape measure, a pencil, and a drill, your project potential really grows. We found that most beginners enjoy building things that are both functional and visually appealing. Think about items for your home or garden; these are often great starting points. It’s exciting to see what you can create with just a few key tools.
TL;DR
- Miter saws simplify precise cuts for beginners.
- Start with small, functional projects like frames or shelves.
- Basic tools like drills and tape measures are essential.
- Building items for home or garden is very rewarding.
- You can achieve impressive results without a complex workshop.
Ready to turn some lumber into something useful? Below, we’ll walk you through some fantastic beginner-friendly projects you can tackle with your miter saw and a few common hand tools.
Your First Woodworking Projects: What a Miter Saw Can Help You Build
With a miter saw and a few basic hand tools, you can create a surprising array of useful and attractive items. We found that the key is to start simple and build confidence.
You’ll be amazed at what you can accomplish even as a beginner. Let’s explore some great first projects.
Picture Frames and Wall Decor
Making picture frames is often a beginner’s first venture into woodworking, and for good reason. A miter saw excels at the precise 45-degree cuts needed for perfect corners. You can quickly create custom frames for photos, art, or even small mirrors.
Basic Picture Frames
For a basic frame, you’ll need four pieces of wood, cut to length with opposing 45-degree angles. The miter saw makes these angles consistent. We recommend using a simple wood glue and clamps to join the corners. Add a backing board and some hangers, and you have a finished frame. It’s a very satisfying project.
Many beginners find this project a great way to learn about measuring and cutting accurately. Plus, you get to display your work right away!
Floating Shelves
After frames, consider floating shelves. These can be simple boxes or just a single board mounted to the wall. The miter saw is perfect for cutting the boards to exact lengths. You can create a sleek look without visible supports. It’s a great way to add storage or display space.
Functional Home Storage Solutions
Storage is always a good idea, and building your own is both economical and rewarding. The miter saw helps you make strong, square joints for practical pieces.
Simple Bookcases and Shelving Units
Building a basic bookcase or a small shelving unit is very achievable. You’ll use your miter saw to cut the side panels and shelves to identical lengths. This ensures your unit stands straight and looks professional.
You can start with a small, open-backed unit. This simplifies construction significantly. We found that using pocket-hole joinery with a drill makes assembly quick and sturdy for these types of projects.
Utility Organizers for Garage or Shed
Tired of tools scattered everywhere? A simple utility organizer or storage rack is perfect. You can customize the dimensions to fit your space and your tools. The miter saw will handle all the repetitive cuts needed for uprights and shelves.
Think about a wall-mounted rack for garden tools or a small shelving unit for paint cans. These projects don’t require fancy finishes, making them great for beginners.
Outdoor and Garden Projects
The outdoors offers many possibilities for your miter saw skills. These projects often use more rustic wood, which can be forgiving for new builders. They’re also a great way to improve your outdoor living spaces.
Planter Boxes and Raised Garden Beds
Creating planter boxes or raised garden beds is a fantastic outdoor project. Your miter saw will make quick work of cutting the sides and ends of the box. You can build them to any size you need for your plants.
Many people find these projects very therapeutic. You get to build something for your garden, and then watch your plants grow in it. What a combination!
Small Outdoor Benches or Stools
A simple outdoor bench or stool can be made with surprisingly few cuts. The miter saw ensures that all your leg pieces and stretcher pieces are the same length. This makes for a stable and balanced piece of furniture.
We recommend using weather-resistant wood for these items. A basic design often involves just four legs and a seat, with a few support pieces underneath.
Small Furniture and Home Accents
Ready to try something a bit more ambitious? Small furniture pieces and home accents are excellent next steps. They allow you to practice more complex joinery or finishing techniques.
Entryway Console Table (Simple Design)
A simple entryway console table can often be built using a “breadboard” style top and four straight legs. The miter saw will be crucial for cutting all components to precise lengths, ensuring everything fits together squarely. You can use common dimensional lumber for a rustic look or more refined wood for a polished finish.
This project introduces you to building a structure that needs to be strong and level. Many find that adding a small shelf below the tabletop makes it even more useful.
Bedside Table or End Table
Similar to the console table, a small bedside or end table is a great project for your miter saw. You can design it with a simple top and legs, perhaps adding a lower shelf for storage. The consistent cuts from your miter saw will make assembly much smoother.
Consider using plywood for the top and shelves if you’re looking for a smooth surface that’s easy to finish. A drill is invaluable here for attaching all the pieces securely.
Essential Tools Beyond the Miter Saw
While the miter saw is a star, it works best with a supporting cast of other basic tools. Here’s a quick checklist of what you’ll want on hand:
- Tape Measure: For all your measuring needs. Accuracy here is key.
- Pencil: To mark your cuts before you make them. Measure twice, cut once!
- Safety Glasses: Always protect your eyes when using power tools (OSHA recommends this for good reason).
- Ear Protection: Miter saws can be loud. Protect your hearing.
- Clamps: Essential for holding wood securely while cutting, gluing, or drilling.
- Cordless Drill/Driver: For pre-drilling holes and driving screws.
- Wood Glue: For stronger joints. It’s often stronger than wood itself (USDA Forest Service).
- Sandpaper: To smooth rough edges and prepare for finishing.
Having these tools ready makes any project much easier and safer. Don’t underestimate the importance of good preparation.
Tips for Success on Your First Projects
As you embark on your woodworking journey, a few key practices will set you up for success. We’ve seen these tips help countless beginners.
Start with Quality Lumber
Using straight, dry lumber makes a huge difference. Warped or twisted wood can make even simple projects difficult. Spend a little extra time picking out good boards at your local lumberyard or home improvement store.
Many beginners find that pine or fir are good starting woods. They are relatively inexpensive and easy to cut. Plus, they take stain and paint well.
Measure Twice, Cut Once (Seriously!)
This old adage is true for a reason. Double-checking your measurements prevents costly mistakes. A small error can mean an ill-fitting joint or a wasted piece of wood. We’ve all been there!
Use a sharp pencil to make clear marks. It’s often helpful to make your mark, then cut on the waste side of the line. This leaves your actual piece at the correct size.
Practice Cuts on Scrap Wood
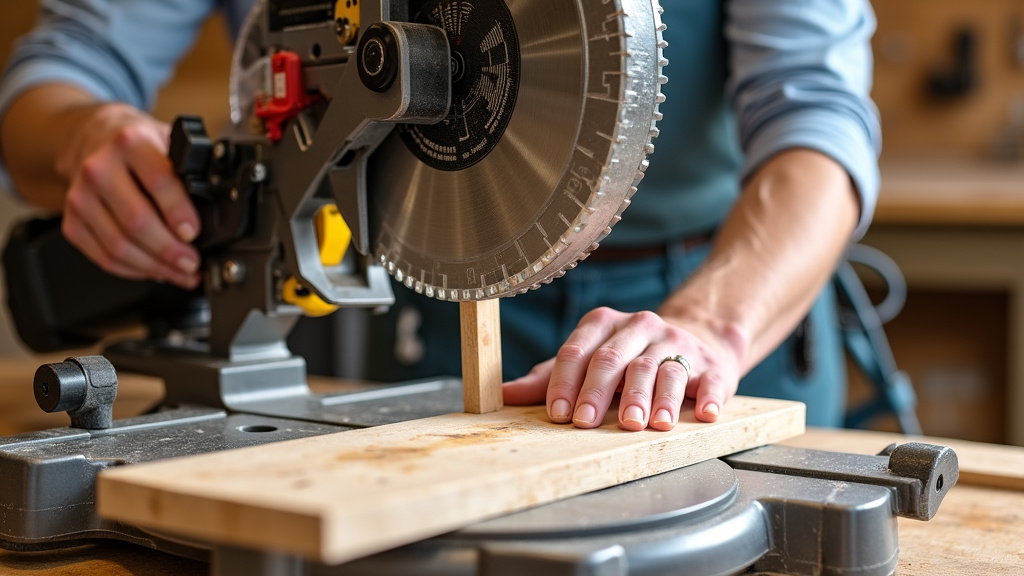
Before cutting into your project pieces, make a few practice cuts on scrap wood. This helps you get a feel for your miter saw and ensures your blade is set correctly. It’s a great way to avoid errors on your good material.
Practice cutting straight and angled cuts. This also helps you get used to the sound and feel of the saw. You’ll gain confidence quickly.
Here’s a quick overview of project difficulty and estimated time:
| Project | Difficulty | Time Est. |
|---|---|---|
| Picture Frame | Easy | 1-2 hours |
| Planter Box | Easy | 2-4 hours |
| Floating Shelf | Easy-Medium | 2-5 hours |
| Small Bookcase | Medium | 4-8 hours |
| Outdoor Bench | Medium | 5-10 hours |
| Console Table | Medium-Hard | 8-15 hours |
Conclusion
You’ve seen just how much you can achieve with a miter saw and a handful of basic tools. From elegant picture frames to practical storage solutions and charming garden projects, your creative potential is vast. We found that starting with simpler projects builds confidence and skills quickly.
Remember to prioritize safety, measure carefully, and practice your cuts. The journey of woodworking is incredibly rewarding. Now, gather your tools, choose a project that excites you, and start building something amazing for your home or garden!
Frequently Asked Questions
What is the absolute easiest project for a beginner with a miter saw?
The absolute easiest project is often a simple picture frame or a basic wooden box. These involve straightforward 45-degree or 90-degree cuts, which are perfect for getting comfortable with your miter saw. They require minimal additional tools.
Can I really build furniture with just a miter saw and a drill?
Yes, you can certainly build small, functional furniture like simple end tables or console tables. The miter saw handles all the precise length cuts, and the drill is essential for secure assembly with screws. We recommend focusing on designs with straight cuts for your first furniture pieces.
What safety gear is most important when using a miter saw?
The most important safety gear includes safety glasses to protect your eyes from flying debris and ear protection to guard against loud noise. We also strongly recommend gloves to prevent splinters and cuts, and always ensure your workpiece is securely clamped.
How do I get my cuts perfectly square with a miter saw?
To get perfectly square cuts, first ensure your miter saw blade is calibrated correctly to 90 degrees. Always use a reliable square to check your fence and blade alignment. Practice cuts on scrap wood will help you verify your settings before cutting your project material. Learn how to check miter saw alignment to ensure your cuts are always accurate.
What’s the best type of wood for beginner projects?
For beginner projects, pine or fir are excellent choices. They are soft, easy to cut, widely available, and relatively inexpensive. This allows you to practice without worrying too much about mistakes. They also take paint and stain well.
