
What Is a Miter Saw Used For?
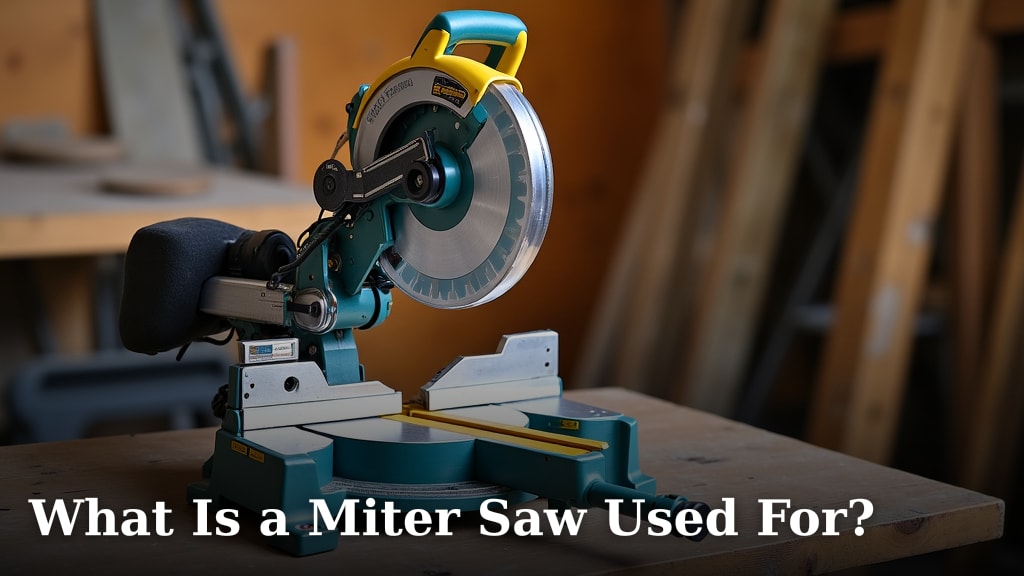
A miter saw is primarily used for making precise crosscuts and angled cuts in woodworking. You can quickly and accurately cut trim, molding, and framing materials. It’s an essential tool for many DIY projects and professional carpentry.
You’ll find a miter saw incredibly useful for tasks requiring perfectly straight or angled cuts. It helps you achieve tight-fitting joints for things like picture frames or crown molding. We found that it streamlines your work, making projects faster and more professional-looking.
TL;DR
- Make precise straight cuts.
- Create angled cuts for trim and molding.
- Speed up woodworking tasks.
- Achieve professional results for projects.
- Cut various materials like wood and some plastics.
Ready to see what else this versatile tool can do? Let’s dive into all the ways a miter saw can transform your projects.
The Many Projects Perfect for Your Miter Saw
A miter saw is a workhorse in any workshop. It helps you tackle a wide range of projects with speed and precision. We found it excels at tasks requiring consistent, accurate cuts.
You’ll discover that this tool truly shines when dealing with repeated cuts. Need 20 pieces of trim all exactly 12 inches long? Your miter saw makes it simple. This consistency saves you time and reduces material waste.
Trim and Molding Installation
Installing trim and molding is where your miter saw becomes indispensable. It allows you to create tight, professional joints. This is crucial for a polished look in your home. Nobody likes gaps in their baseboards!
Baseboards and Crown Molding
Think about baseboards. You need perfect 45-degree angle cuts for inside and outside corners. Your miter saw makes these cuts a breeze. This ensures your baseboards meet flush, looking seamless.
Crown molding can be tricky, but your miter saw simplifies the process. It handles the compound angles needed for these decorative pieces. We found that a good miter saw takes much of the frustration out of crown molding installation (Woodworking Network).
Door and Window Casings
For door and window casings, a miter saw helps you achieve precise mitered corners. This creates a clean, finished appearance around openings. It’s about getting those little details right.
Deck Building and Framing
Building a deck requires many accurate cuts, often at angles. Your miter saw is perfect for this work. It handles larger lumber sizes common in outdoor construction.
Framing walls or other structures also benefits from a miter saw. It helps you cut studs and other wood pieces to exact lengths. This ensures your structure is square and sturdy.
Crafting and Furniture Building
Even smaller, more intricate projects can benefit from a miter saw. When you’re building furniture, precision is key. Do you want your joints to fit perfectly? Your miter saw helps you get there.
Picture Frames and Shadow Boxes
Making picture frames is a classic miter saw application. You need 45-degree cuts that join perfectly to form a square or rectangle. We found that even beginners can make beautiful frames with this tool.
Shadow boxes and other small display cases also require similar precise angled cuts. Your miter saw provides the accuracy needed for these delicate projects. It elevates your crafting game.
Small Furniture Assembly
Building small tables, shelves, or even custom storage units? Your miter saw makes cutting components to exact sizes simple. This speed and accuracy mean less sanding and adjusting later on.
Understanding the Different Types of Miter Saws
Not all miter saws are created equal. Knowing the different types helps you choose the right one for your needs. We’ll walk you through the most common kinds you’ll encounter.
Standard Miter Saw (Chop Saw)
This is the most basic type. It cuts straight down at a fixed angle, usually 90 degrees. You can also tilt the blade to make miter cuts (angled cuts across the face of the wood).
A standard miter saw is great for basic crosscuts and simple trim work. It’s often the most affordable option. It’s a solid starting point for many DIYers.
Compound Miter Saw
A compound miter saw does everything a standard miter saw does, but with an added capability. The blade can also tilt (or bevel) to the left, and sometimes to the right. This allows for compound cuts.
What’s a compound cut? It’s a cut that involves both a miter angle and a bevel angle at the same time. This is particularly useful for things like crown molding, where the cut needs to be angled in two directions simultaneously. We found that this feature makes complex trim work much easier.
Single vs. Dual Compound
A single compound miter saw bevels in one direction (usually to the left). This means you might need to flip your workpiece over for some cuts. A dual compound miter saw bevels in both directions (left and right). This saves you time and effort because you don’t have to reposition your material as often. Many professionals prefer dual compound saws for this reason.
Sliding Miter Saw
A sliding miter saw has rails that allow the blade and motor to slide forward and backward. This significantly increases the saw’s cutting capacity. It can cut much wider boards than a non-sliding saw of the same blade size.
Need to cut a 12-inch wide shelf board? A sliding miter saw can likely handle it. Without the sliding feature, you’d be limited to about a 6-inch width on a typical 10-inch saw. We’ve seen that this capacity gain is a huge benefit for larger projects.
Comparing Miter Saw Types
Here’s a quick comparison to help you visualize the differences and decide what might be best for your projects:
| Saw Type | Key Feature | Best For | Typical Max Cut Width (10″ blade) |
|---|---|---|---|
| Standard Miter Saw | Basic angled cuts. | Simple trim, small lumber. | ~ 5-6 inches |
| Compound Miter Saw | Adds bevel (tilt) for compound cuts. | Crown molding, complex trim. | ~ 5-6 inches |
| Sliding Miter Saw | Blade slides, increasing crosscut capacity. | Wide boards, decking. | ~ 10-12+ inches |
What Can You Cut with a Miter Saw?
While often associated with wood, your miter saw is more versatile than you might think. With the right blade, it can handle several different materials. Always use the correct blade for the material you’re cutting.
Wood and Wood Composites
This is the miter saw’s primary mission. You can cut everything from softwoods like pine to hardwoods like oak. It handles plywood, MDF, and particle board with ease.
Whether it’s dimensional lumber for framing or delicate molding for trim, your miter saw provides clean, accurate cuts. We found that a sharp blade makes all the difference here for a smooth finish.
Plastics and PVC
You can cut many types of plastic, such as PVC pipes and plastic trim pieces. This is often done with a fine-toothed blade. The key is to cut slowly to prevent the plastic from melting or chipping.
Consider safety glasses and a dust mask when cutting plastics (OSHA recommends this). Some plastics can release fine particles. A miter saw can speed up plumbing or outdoor project work significantly when dealing with plastic components.
Non-Ferrous Metals (with caution)
Yes, some miter saws with specific blades can cut non-ferrous metals like aluminum. This includes aluminum tubing or window frames. You absolutely need a metal-cutting specific blade designed for a miter saw.
Never attempt to cut steel or other ferrous metals with a standard miter saw and wood blade. That’s incredibly dangerous. Always consult your saw’s manual and blade manufacturer’s guidelines before attempting metal cuts. Safety first, always!
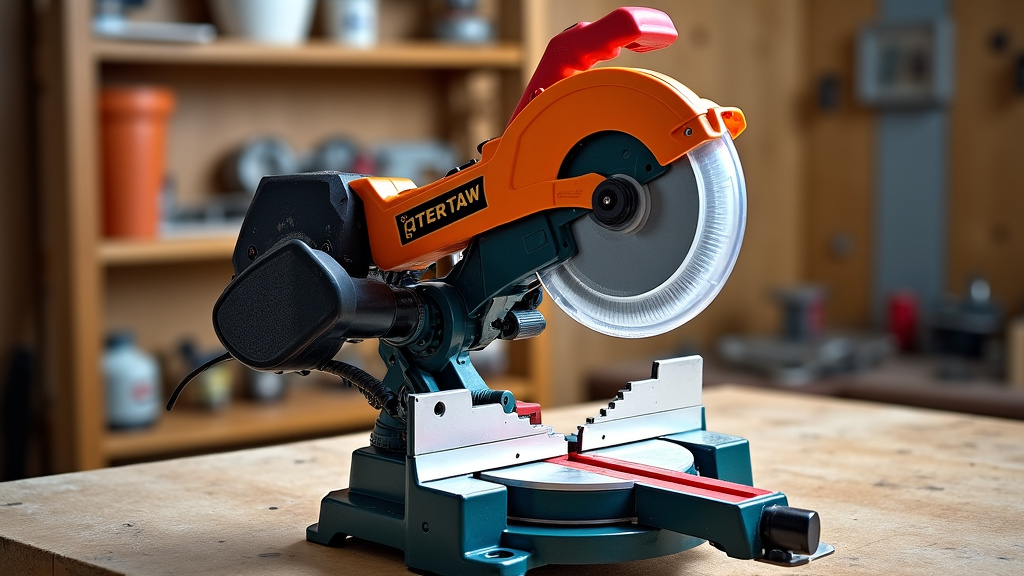
Essential Accessories for Your Miter Saw
To get the most out of your miter saw, a few accessories are highly recommended. These items enhance safety, accuracy, and overall usability. Think of them as your saw’s best friends.
Blades for Different Materials
A good blade makes all the difference. The blade that comes with your saw is often a general-purpose one. For specific tasks, specialized blades are key.
- Fine-tooth blade: For very smooth cuts on delicate trim and hardwoods.
- Rough-cut blade: For fast cuts on construction lumber where finish isn’t critical.
- Plastic/laminate blade: For cleaner cuts on PVC, acrylic, and laminate flooring.
- Non-ferrous metal blade: For cutting aluminum (only if your saw is compatible).
Miter Saw Stand
A sturdy miter saw stand provides a stable and ergonomic workstation. It raises your saw to a comfortable working height. Many stands also have outriggers to support long pieces of material, preventing wobble and promoting safer cuts.
Measuring and Marking Tools
Accuracy starts with good measurements. You’ll need a reliable tape measure, a pencil, and a speed square or combination square. These help you mark your cuts precisely before you even touch the saw.
Safety Gear Checklist
Your safety is paramount. Always use proper personal protective equipment when operating your miter saw. What should you always have on hand?
- Safety glasses: Essential for protecting your eyes from flying debris.
- Hearing protection: Miter saws can be loud; protect your ears.
- Dust mask or respirator: Especially when cutting wood or MDF, which create fine dust.
- Push stick or hold-down clamp: Keeps your hands away from the blade, especially for smaller pieces.
- Appropriate clothing: Avoid loose clothing or jewelry that could get caught.
Maximizing Precision and Safety
Getting accurate cuts and staying safe are your top priorities. A few simple practices can make a big difference in both areas. We found that paying attention to these details prevents headaches later.
Proper Technique for Perfect Cuts
Don’t just eyeball it! Always measure and mark your cut line clearly. Practice makes perfect, but good habits from the start help a lot.
When cutting, let the saw reach full speed before engaging the wood. Bring the blade smoothly through the material. Don’t force it. Let the saw do the work. This results in cleaner cuts and less strain on your motor.
Workpiece Support is Crucial
Never let your material hang unsupported off the edge of your saw. This can lead to inaccurate cuts, kickback, and even injury. Use your miter saw stand’s extensions, roller stands, or even sawhorses to support long boards.
Clamping your workpiece is also a great idea, especially for repetitive cuts or tricky angles. This prevents the wood from shifting during the cut. Many miter saws have built-in clamps or attachment points for aftermarket options.
Conclusion
You’ve seen how truly versatile a miter saw can be, moving far beyond simple straight cuts. We found it’s an indispensable tool for everything from precise trim work and intricate crown molding to robust deck building and crafting delicate picture frames. Understanding the different types helps you match the saw to your specific project needs. Equipping yourself with the right blades and accessories, along with prioritizing safety, ensures you get the best results.
Your miter saw is ready to transform your woodworking projects, making them more accurate and professional. So, grab your safety gear, choose your project, and start cutting with confidence!
Frequently Asked Questions
Can a miter saw replace a table saw?
No, a miter saw cannot fully replace a table saw. We found that while miter saws excel at crosscuts and angles, table saws are designed for long rip cuts (cutting wood lengthwise). They serve different primary functions in a workshop.
What’s the best miter saw for a beginner?
For beginners, a single or dual compound miter saw is often a great choice. It handles most common household projects like trim and basic framing. We recommend starting with a 10-inch model as it’s versatile and more manageable for learning.
How do I make accurate miter cuts every time?
Accuracy comes from good preparation. Always ensure your saw is calibrated, use a sharp blade, and mark your cuts precisely. We found that supporting your workpiece fully and letting the saw reach full speed before cutting dramatically improves accuracy.
Can I cut metal studs with a miter saw?
You can cut thin-gauge, non-ferrous metals like aluminum with a specialized blade. However, you should never attempt to cut steel studs or other ferrous metals with a standard miter saw. This requires a dedicated metal chop saw for safety and effectiveness.
What maintenance does a miter saw need?
Regular maintenance includes keeping the saw clean from sawdust and debris. You should inspect the blade for sharpness and damage. We also found it’s important to check that all fasteners are tight and lubricate any moving parts according to your owner’s manual.
