What Size Miter Saw Do I Need for Baseboards?
On this page (3 sections)
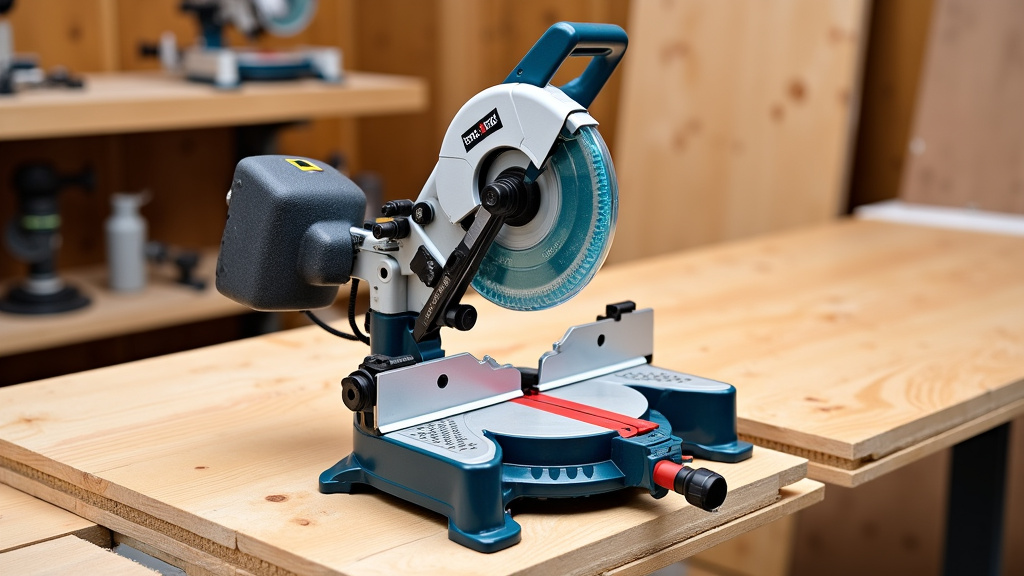
For baseboards, you generally need a 10-inch or 12-inch miter saw. These sizes offer the cutting capacity and versatility required for most baseboard profiles. The right size ensures you can make clean, accurate cuts.
Choosing the correct miter saw size is important for your project. A larger saw offers greater cross-cutting abilities, while a smaller saw is often more portable. We found that most DIYers and pros prefer a miter saw in this range for trim work.
- A 10-inch or 12-inch miter saw is ideal for baseboards.
- These saws provide enough cutting capacity.
- Consider a sliding miter saw for wider boards.
- Portability is a factor for smaller saws.
- Accuracy in cuts is key for trim work.
Let’s dive into the details to help you pick the perfect miter saw for your baseboard installation.
Selecting the Ideal Miter Saw for Your Baseboard Project
Choosing the right miter saw size is crucial for any baseboard installation. A 10-inch or 12-inch saw provides the versatility and cutting capacity you need. Let’s break down why these sizes are perfect for your trim work.
You want a saw that can handle the width and height of your baseboards. Too small, and you’ll struggle with wider cuts. Too large, and you might be paying for features you don’t need, plus sacrificing portability.
Understanding Miter Saw Blade Sizes
Miter saws are named by the diameter of their blade. This blade size directly impacts the maximum cutting capacity of the saw. It dictates how wide and how tall of a board you can cut in a single pass.
For baseboards, you’re primarily concerned with the cross-cut capacity. This is the maximum width of wood the saw can cut when laid flat. You also care about the vertical cut capacity, especially for taller baseboards.
The 10-inch Miter Saw: Your Compact Workhorse
A 10-inch miter saw is a fantastic choice for many DIYers. It’s often more affordable and lighter than its 12-inch counterpart. This makes it easier to transport around your home or to different job sites.
Most 10-inch saws can cross-cut a 2×6 or 2×8 board at a 90-degree angle. For typical baseboard dimensions, this is usually more than enough. For example, a standard 5-inch wide baseboard fits comfortably.
However, if your baseboards are very tall, like 7 inches or more, a non-sliding 10-inch saw might struggle with vertical cuts. For a six-inch profile, see our miter saw size guide. Always check the saw’s specifications for vertical capacity before buying.
The 12-inch Miter Saw: Power and Precision for Wider Boards
The 12-inch miter saw offers a greater cutting capacity. This is especially useful if you’re working with wider baseboards or other larger trim pieces. It can often cut a 2×8 or even a 2×10 board at 90 degrees.
While typically heavier and more expensive, a 12-inch saw gives you more flexibility for future projects. If you plan on doing more than just baseboards, like building decks or cutting larger lumber, it’s a smart investment.
We found that many professionals prefer the 12-inch size for its robustness and versatility. It reduces the need for flipping boards, which improves accuracy and saves time.
Sliding vs. Non-Sliding Miter Saws for Baseboards
This is where things get interesting! The decision between a sliding and non-sliding miter saw is almost as important as the blade size itself. It impacts your cutting capabilities significantly.
A non-sliding, or “chop,” miter saw pivots down onto the material. Its cutting capacity is limited by the blade’s diameter. A sliding miter saw has rails, allowing the blade to move forward and back, greatly increasing its cross-cut capacity.
The Advantages of a Sliding Miter Saw
For baseboards, especially wider ones, a sliding miter saw is a game-changer. A 10-inch sliding miter saw can often cut as wide as, or even wider than, a 12-inch non-sliding saw. Some can cut boards up to 12-14 inches wide.
This extended cross-cut capacity means you can cut most baseboards flat on the saw’s table. Cutting flat is generally safer and more accurate than cutting baseboards “on edge” or vertically against the fence.
Many experts agree that a sliding miter saw, even a 10-inch one, offers the best versatility for trim work (Wood magazine). It gives you room to grow and tackle various other projects with ease.
When a Non-Sliding Miter Saw is Sufficient
If your baseboards are narrow – say, 4 inches or less – a non-sliding miter saw might be perfectly fine. These saws are generally more compact and can be easier to set up in smaller workspaces.
They are also often less expensive. If budget is a primary concern and your baseboards are standard narrow sizes, a non-sliding 10-inch saw can certainly get the job done accurately.
However, you might need to cut your baseboards vertically (on edge) against the fence for taller pieces. This requires more careful measurement and technique to ensure accurate miter cuts.
Crucial Features to Consider for Baseboard Work
Beyond blade size and sliding capabilities, a few other features will make your baseboard installation smoother. Think about these when you’re looking at different models. They can significantly impact your project’s quality and your workflow.
Bevel Capacity
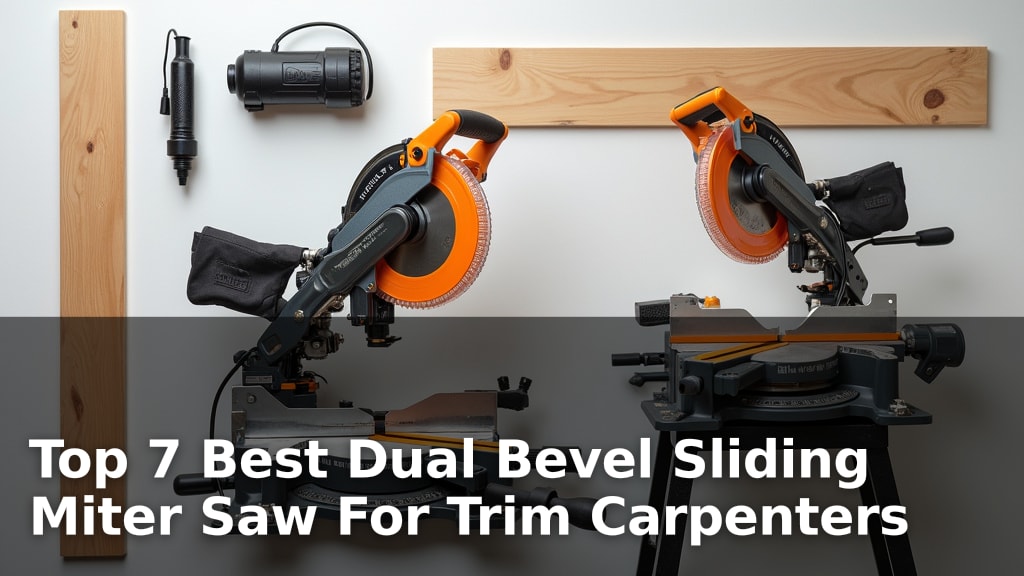
Many baseboard installations require bevel cuts, especially for outside corners. Make sure your miter saw can bevel to at least 45 degrees. A dual-bevel saw, which can tilt both left and right, saves you from flipping the workpiece.
Flipping material can introduce errors and takes more time. A dual-bevel saw ensures you can make all necessary cuts efficiently and with greater precision. We found that this feature is highly valued by users.
Dust Collection
Cutting wood creates a lot of sawdust. Good dust collection is important for a cleaner workspace and better visibility of your cut line. Look for saws with an effective dust port that can connect to a shop vac.
A cleaner environment is also a safer environment. Breathing in sawdust isn’t good for you, and a clearer work area reduces trip hazards. Many sources emphasize the importance of dust management for safety (OSHA).
Laser Guide
A laser guide projects a line onto your workpiece, showing you exactly where the blade will cut. This feature can greatly improve accuracy and reduce guesswork, especially for intricate trim work.
While not strictly necessary, a laser guide is a fantastic convenience. It helps you quickly align your cut and can be a real time-saver, particularly when making repetitive cuts for an entire room.
Comparing Miter Saw Options for Baseboards
Let’s look at a quick comparison to help you visualize the choices. This table summarizes the pros and cons of common miter saw types for baseboard projects. It helps highlight the best fit for your needs.
| Saw Type | Pros for Baseboards | Cons for Baseboards | Ideal For |
|---|---|---|---|
| 10-inch Non-Sliding | Affordable, portable, good for narrow trim | Limited cross-cut capacity, struggles with wide boards | Narrow baseboards (up to 4-5 inches), DIYers on a budget |
| 10-inch Sliding | Excellent cross-cut capacity, versatile, good portability | More expensive than non-sliding 10-inch, larger footprint | Most baseboards (up to 10-12 inches), versatile DIYers |
| 12-inch Non-Sliding | Good cross-cut capacity, larger blades last longer | Less portable, higher cost than 10-inch non-sliding | Wider baseboards (up to 6-8 inches), general carpentry |
| 12-inch Sliding | Maximum cross-cut capacity, handles very wide boards easily | Heaviest, most expensive, requires more space | Very wide baseboards (12+ inches), professionals, all-around use |
Your Miter Saw Selection Checklist
Before you buy, ask yourself these questions. This quick checklist will help you narrow down your options and ensure you get a saw that’s perfect for your baseboard project and beyond.
- What is the widest baseboard you’ll be cutting?
- Are your baseboards particularly tall (over 6-7 inches)?
- Do you prefer to cut baseboards flat on the table?
- What is your budget for a new miter saw?
- How often will you need to move the saw?
- Are you planning other projects that need a miter saw?
Answering these helps clarify your needs. If you’re only doing a small room with narrow trim, a basic 10-inch non-sliding saw might be enough. For a whole house with wide, tall baseboards, a 12-inch sliding model could be your best friend.
Remember, the goal is to find a saw that makes your work easier and more accurate. Don’t just pick the biggest or the cheapest. Choose the one that aligns with your specific baseboard installation requirements.
Conclusion
Choosing the right miter saw for baseboards really boils down to your specific project needs. While a 10-inch or 12-inch miter saw is generally ideal, consider the width of your baseboards and whether a sliding feature will offer the versatility you need. We’ve seen how a thoughtful selection can make your trim work much easier and more accurate.
Prioritize features like bevel capacity and dust collection for a smoother experience. Take a moment to review our checklist and compare options. By doing so, you’ll invest in a tool that not only completes your current baseboard project flawlessly but also serves you well for many future tasks.
Frequently Asked Questions
Can I use a circular saw for baseboards instead of a miter saw?
While technically possible, using a circular saw for baseboards is much harder to get accurate, clean miter cuts, especially for inside and outside corners. A miter saw provides the precision and angles necessary for professional-looking trim work that a circular saw typically cannot match.
What’s the best miter saw blade for cutting baseboards?
For baseboards and other trim work, you’ll want a fine-tooth blade, typically with 60 to 80 teeth. A higher tooth count results in cleaner cuts and reduces tear-out, which is essential for visible trim pieces. Always choose blades designed for cross-cutting wood.
Do I need a stand for my miter saw when cutting baseboards?
A miter saw stand isn’t strictly necessary, but it’s highly recommended. A good stand provides a stable, level work surface and often includes support wings for longer pieces of baseboard. This greatly improves accuracy, safety, and your overall working comfort.
How do I accurately measure baseboards for miter cuts?
For accurate miter cuts, measure your baseboards directly in place and mark the cut line. It’s often best to cut pieces slightly long and then trim them down for a perfect fit, rather than cutting too short. Using a miter saw’s laser guide can also help visualize the cut before you make it.
Is a compound miter saw better than a single-bevel miter saw for baseboards?
A compound miter saw can tilt (bevel) to make angled cuts, which is crucial for baseboards. A single-bevel saw only tilts in one direction. A dual-bevel saw, which is a type of compound saw, can tilt both left and right, saving you from flipping the baseboard for opposite-angle cuts, making it much more convenient and precise for trim work.