How To Fold Porter Cable Miter Saw?
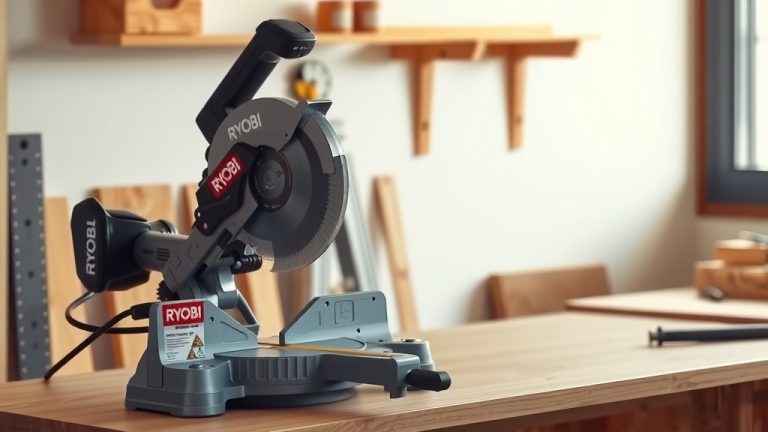
To fold your Porter Cable miter saw, you generally need to release the miter angle lock, often at the base, and then gently push the saw head down and back until it secures into its transport position.
Many models require you to also manage the bevel adjustment and any sliding arm mechanisms before the Porter Cable miter saw can be fully compacted for storage or transport (Porter Cable User Manuals).
TL;DR: How to Fold Your Porter Cable Miter Saw
- Prioritize safety by unplugging the saw.
- Unlock the miter angle and bevel settings.
- Carefully push the saw head down and secure it.
- Retract any sliding rails or extensions.
- Engage the transport lock for easy moving and storage.
How To Fold Porter Cable Miter Saw?
Folding your Porter Cable miter saw involves a few straightforward steps designed to make it more compact for storage or easier to move around your workspace.
It’s about making your saw fit better in tight spots, like under a workbench or in the back of your vehicle.
Why Fold Your Miter Saw? Think Space and Mobility!
Ever found yourself tripping over your miter saw when it’s not in use? We understand that feeling.
Folding your saw isn’t just a party trick; it’s a practical solution for optimizing your workshop space and making transportation a breeze (Woodworking Institute).
Reclaiming Your Workspace
A folded saw takes up significantly less room. This means more space for other tools or just room to walk without bumping into things.
Imagine the relief of having a clear path in your garage!
Making Transport Simple
Whether you’re moving it to a job site or just tidying up, a compact saw is much easier to lift and secure.
It’s like comparing a bulky suitcase to a carry-on – one is just so much more manageable.
Safety First: Before You Touch Anything
Before you even think about collapsing your saw, safety is your best friend. Seriously, it’s non-negotiable.
The very first thing you should do is always unplug the saw from the power outlet. No power, no accidental starts!
Clear the Deck
Ensure your work area is clear of debris, sawdust, and any loose materials. This prevents snags or unexpected obstacles.
A clean slate makes the folding process smoother and safer for everyone.
Getting Ready: What Tools Will You Need?
Good news! Most Porter Cable miter saws are designed for tool-free folding. You typically won’t need a toolbox.
Your hands and a bit of common sense are usually all you’ll require for this task.
Step-by-Step Folding Guide for Your Porter Cable Miter Saw
Let’s walk through this together. We want you to feel confident every step of the way.
Remember, your specific model might have slight variations, so a quick glance at your user manual is always a good backup plan.
1. Release the Miter Angle Lock
Look for the miter lock handle, usually a large knob or lever at the front base of the saw.
Rotate or lift it to release the saw’s turning mechanism. This allows the saw to move freely from left to right (Saw Authority).
2. Set the Bevel to 0 Degrees (Upright)
Locate the bevel lock, often at the back or side of the saw head. Loosen it and adjust the saw blade to a perfect 90-degree upright position.
Then, retighten the bevel lock. This ensures the saw head is straight up and down, ready to fold.
3. Retract Any Sliding Rails or Extensions
If your Porter Cable miter saw is a sliding model, gently push the saw head all the way back towards the fence.
Also, retract any material support extensions that might be pulled out from the base.
4. Gently Push the Saw Head Down
With the miter and bevel set, carefully push the saw head down towards the saw’s base.
Many models have a spring-loaded head that naturally wants to spring up, so guide it down firmly but gently.
5. Engage the Transport Lock
As the saw head reaches its lowest point, look for a pin or lever that locks it in place for transport. This is often a small metal pin you push in or pull out to secure the head.
Once engaged, the saw head will stay down, making it much more stable.
6. Secure the Dust Bag or Port
Ensure your dust bag or any connected dust collection hoses are tucked away or removed. This prevents damage and keeps the profile compact.
Nobody wants a ripped dust bag or a kinked hose!
Pro Tips for a Smooth Folding Experience
We’ve learned a few things over time that can make this process even easier for you.
These little tricks can save you time and frustration.
- Keep it Clean: Regularly clear sawdust from pivot points. It helps mechanisms move freely.
- Read Your Manual: Seriously, it’s there for a reason! It offers model-specific nuances.
- Don’t Force It: If something feels stuck, re-check your locks and adjustments. Forcing can cause damage.
Common Pitfalls: What to Avoid When Folding
Nobody’s perfect, and sometimes we overlook the simple things. Here are a few common mistakes we’ve observed.
Avoiding these can save you a headache and potential damage to your valuable tool.
Forgetting to Unplug
This might seem obvious, but it’s the most important safety step. Always, always disconnect the power first.
Even a momentary thought lapse can be dangerous (OSHA safety guidelines).
Ignoring Sticky Mechanisms
If a lock or slide mechanism is stiff, don’t just muscle it. It might need a bit of cleaning or a very light application of dry lubricant.
A well-maintained saw folds more easily and lasts longer.
Not Checking All Locks
Did you secure the miter *and* the bevel? What about the transport lock pin? A partially folded saw can be unstable and inconvenient.
Double-check everything before moving it.
Benefits of a Folded Miter Saw: A Quick Look
Thinking about the pros and cons? Here’s a simple comparison to show why folding is often the better choice.
It’s about making your saw work better for your specific needs.
| Benefit | Folded Saw | Unfolded Saw |
|---|---|---|
| Storage Space | Takes up minimal room | Requires significant footprint |
| Portability | Easy to carry and transport | Awkward and heavy to move |
| Protection | Components are tucked away | Blade and parts exposed |
| Stability | Locked in a secure position | Can be top-heavy or wobbly |
Checklist for a Perfectly Folded Porter Cable Miter Saw
Before you move your newly folded saw, quickly run through this checklist. It’s like a quick mental pat-down to ensure everything is perfect.
It ensures nothing is missed and your saw is ready for its next adventure or rest.
- Saw unplugged from power?
- Miter lock released and saw centered?
- Bevel set to 0 degrees and tightened?
- Sliding rails fully retracted?
- Saw head pressed down and transport locked?
- Dust bag/port secured or removed?
Conclusion
Folding your Porter Cable miter saw isn’t just about saving space; it’s about smart tool management and safety. By following these simple steps, you can confidently transform your full-sized saw into a compact, easily storable, and portable unit.
Think of it as giving your saw a nice, neat bedtime for when it’s not busy making sawdust. Taking a few moments to properly fold and secure your tool extends its life and makes your workspace a happier, safer place (DIY Network best practices).
Frequently Asked Questions About Folding Miter Saws
Is it safe to store my Porter Cable miter saw folded long-term?
Absolutely! Storing your saw in a folded, compact position is actually recommended for long-term storage. It helps protect delicate components like the blade and guard from accidental bumps and dust accumulation, contributing to the tool’s longevity.
What if my miter saw head won’t stay down when I try to fold it?
If the saw head springs back up, it typically means the transport lock isn’t engaged. Double-check for a locking pin or lever near the saw’s pivot point and ensure it’s fully pushed or pulled into place to secure the head down. Sometimes, sawdust can prevent it from engaging fully, so a quick clean might help.
Do all Porter Cable miter saws fold the same way?
While the general principles are similar (releasing locks, lowering the head), there can be minor variations between specific Porter Cable models, especially between sliding and non-sliding saws, or different generations of tools. Always consult your model’s user manual for the most accurate, step-by-step instructions.
Can I transport my miter saw without folding it?
You can, but it’s not ideal or as safe. An unfolded saw is much bulkier, making it harder to handle and more prone to damage during transport. The exposed blade also poses a greater safety risk. Folding it properly protects the tool and makes it much more manageable.
My saw feels stiff when trying to adjust the miter or bevel for folding. What should I do?
Stiffness is often due to accumulated sawdust or grime in the locking mechanisms or pivot points. A thorough cleaning with compressed air or a brush, followed by a very light application of a dry lubricant (like a silicone spray, avoiding oil near electrical components), can often resolve the issue. Always ensure the saw is unplugged before any cleaning.