How to Square Up a Miter Saw?
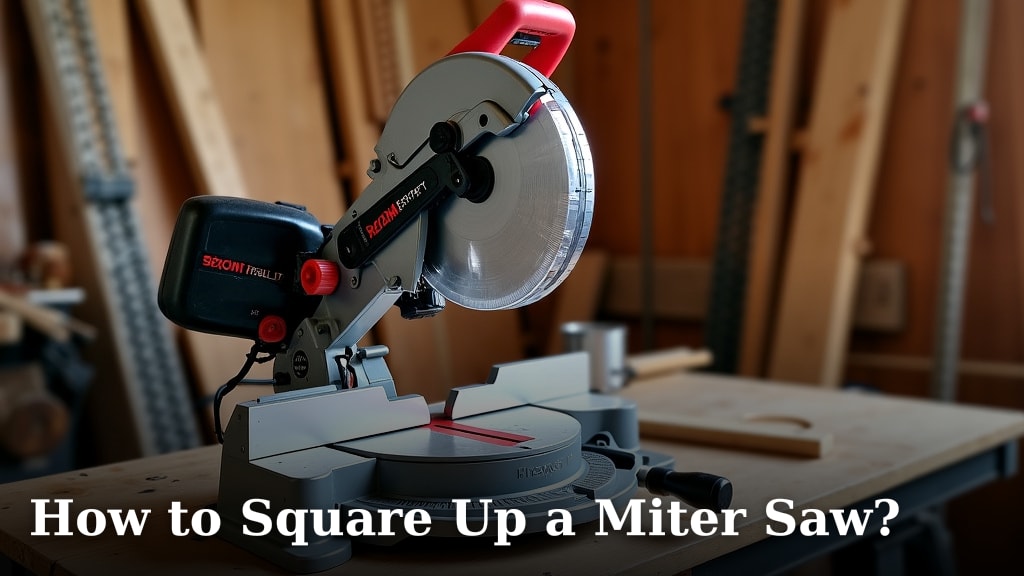
To square up a miter saw, you generally need to check and adjust three main angles: the Our guide on how to calibrate a miter saw provides a comprehensive overview of the entire process.blade’s perpendicularity to the fence, the miter angle accuracy (usually 90 degrees), and the bevel angle calibration. Getting these settings just right ensures your cuts are precise and your projects turn out professional.
You might be wondering why your cuts aren’t perfectly straight or why your joints have gaps. Often, the culprit is a miter saw that’s slightly out of square. We found that even a tiny error can lead to big problems down the line, so regular calibration is key for any woodworking enthusiast or professional.
- Checking blade-to-fence alignment.
- Calibrating your miter angles.
- Adjusting bevel settings for true vertical cuts.
- Understanding common issues and fixes.
- Why precision matters in woodworking.
Ready to get your cuts perfect every time? Let’s walk through exactly how to square up a miter saw step by step.
Getting Your Miter Saw Aligned for Perfect Cuts
You want your woodworking projects to look professional, right? That means every cut needs to be just right. An accurately aligned miter saw is the secret to achieving those tight joints and smooth edges you see in high-quality work. We found that even a fractional error can lead to noticeable gaps and frustrations.
Think of it like tuning a musical instrument. A well-tuned instrument sounds harmonious; a well-calibrated saw makes precise cuts. Let’s make sure your saw is singing the right tune for every project.
Safety First: Before You Start Adjusting
Before you even think about touching those adjustment knobs, safety is key. You’ll be working closely with a sharp blade, and we want to keep all your fingers where they belong. We always recommend taking a few moments to prepare.
Unplug Your Saw
This might seem obvious, but it’s the most important step. Always unplug your miter saw from the power source before making any adjustments or even just inspecting the blade. An accidental bump could activate the saw, causing serious injury. It’s a simple step that saves a lot of potential heartache.
Gather Your Tools
You’ll need a few specific tools to get this job done right. Having them ready saves time and prevents interruptions. We found that a small kit of essential calibration tools makes the process much smoother.
- A high-quality combination square or machinist square.
- A reliable digital protractor or angle finder (optional, but very helpful).
- An accurate straightedge (at least 24 inches long).
- A set of Allen wrenches or hex keys (check your saw’s manual for sizes).
- A Phillips head screwdriver.
- A pencil and paper for notes.
- A piece of scrap wood for test cuts.
Checking the Blade-to-Fence Alignment
This is where we start. Your blade needs to be perfectly perpendicular to your saw’s fence. If it’s off, even slightly, your cuts won’t be square, and your projects will suffer. We’ve seen many people overlook this crucial first step, leading to endless frustration.
Using a Combination Square
A good combination square is your best friend here. It helps you check that critical 90-degree angle. This tool acts as your immediate feedback system, showing you exactly where the problem might lie.
Steps for Blade-to-Fence Check
- Ensure your saw’s miter angle is set to 0 degrees (straight ahead).
- Raise the saw arm completely.
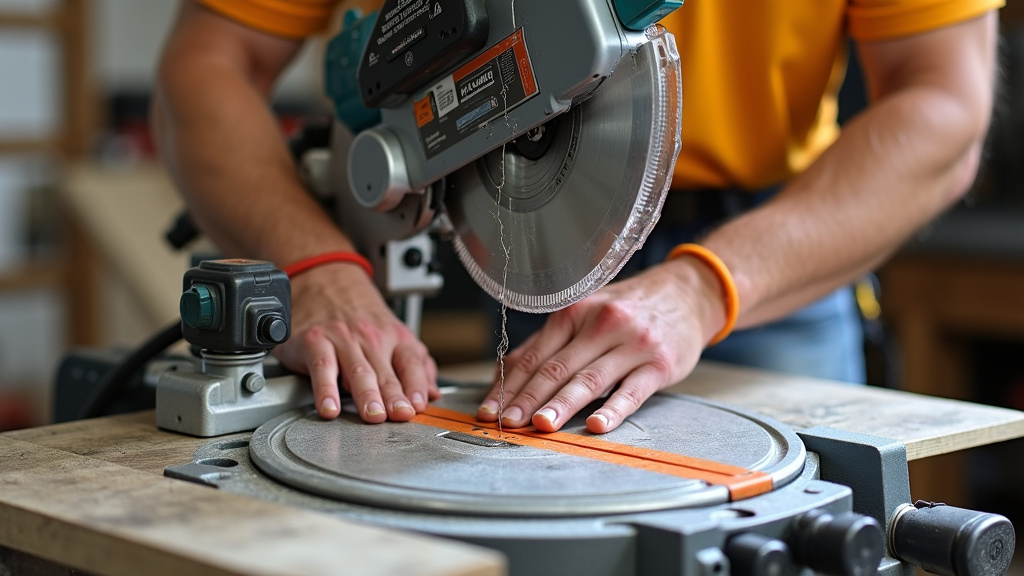
- Place the base of your combination square firmly against the fence.
- Gently lower the saw arm until the blade teeth are just above the square’s blade.
- Look for any gaps between the square and the saw blade. If there’s a gap, your blade isn’t perfectly perpendicular.
If you see a gap, don’t worry! This is a common issue, and it’s fixable. Most miter saws have adjustment screws for this specific calibration.
Adjusting the Fence Position
Some saws allow you to adjust the fence itself. Others require adjusting the main saw head. Always refer to your saw’s manual; it’s designed to guide you through these specific steps for your model. We found that manuals often contain diagrams that make adjustments much clearer.
Making the Adjustment
Locate the bolts or screws that secure your fence or the saw head. They are usually found on the underside or behind the fence. Loosen them just enough so you can make tiny movements. Then, using your square, gently tap the fence or saw head until the blade is perfectly flush against the square. Tighten the bolts carefully, re-check, and repeat if necessary.
Calibrating Miter Angles for Precision
Once your blade is square to the fence at 0 degrees, it’s time to ensure your miter angles are accurate. Most of your angled cuts depend on this. The 45-degree setting is particularly important for common woodworking joints. We recommend starting with the 90-degree miter first.
Verifying the 90-Degree Miter Stop
Your saw has a detent, or stop, at 0 degrees (for a 90-degree cut). We need to make sure this stop is truly at 0 degrees. This is the foundation for all other miter angles.
Test Cut Method for 90 Degrees
- Set your saw to the 0-degree miter detent.
- Take a piece of scrap wood (like a 2×4 or plywood).
- Make a cut. Flip one of the cut pieces over and butt the two freshly cut edges together.
- If the edges meet perfectly with no gap, your 90-degree miter is spot on.
- If there’s a V-shaped gap, your saw is slightly off.
This test cut method is a fantastic way to see cumulative error. A small error over a short cut becomes more obvious when you combine two pieces.
Adjusting the Miter Detent
Look for a small adjustment screw near the 0-degree detent on your saw’s miter scale. It might be hidden, so consult your manual. Loosen it slightly, adjust the saw table until your test cuts are perfect, then tighten the screw. Always make test cuts after each adjustment. This iterative process leads to the best results.
Setting Up the Bevel Angle Accurately
Bevel cuts are where your blade tilts, not the saw table turns. This angle needs to be as precise as your miter angles. The 90-degree bevel, which means a straight up-and-down cut, is essential for squaring lumber edges. We often find this setting to be the most frequently out of calibration on new saws.
Checking the 90-Degree Bevel Stop
Similar to the miter, your saw has a stop for a 90-degree bevel (a straight up-and-down cut). This means the blade is perfectly vertical. We need to ensure that stop is accurate. Many woodworking problems stem from an inaccurate bevel setting.
Using Your Square for Bevel Check
- Set your saw’s bevel to 0 degrees (for a 90-degree vertical cut).
- Raise the saw arm.
- Place the base of your combination square firmly on the saw table.
- Bring the blade of the square up against the saw blade.
- Check for any gaps. If the blade isn’t perfectly flush with the square, it’s out of adjustment.
Alternatively, you can use a digital angle finder. Place it on the saw table and against the blade for a numerical reading. This offers a more precise measurement and can be very helpful for fine-tuning.
Adjusting the Bevel Stop
Your saw will have a specific adjustment bolt for the 90-degree bevel stop. It’s usually located at the back of the saw head or near the pivot point. Loosen the bolt, adjust the blade until it’s perfectly square to the table (using your combination square or digital angle finder), and then tighten the bolt. Again, check after every adjustment.
Calibration Checklist: Your Path to Precision
To summarize, here’s a quick checklist to ensure you’ve covered all your bases. We found that following a methodical approach prevents missing critical steps and ensures a truly squared saw.
- Unplugged the saw? Safety first, always!
- Blade-to-fence alignment checked? Use a combination square at 0-degree miter.
- 90-degree miter stop verified? Use the test cut method on scrap wood.
- 90-degree bevel stop checked? Use a combination square or digital angle finder.
- All adjustment bolts tightened? Double-check everything before plugging back in.
Troubleshooting Common Miter Saw Issues
Even after calibration, you might encounter small issues. Don’t worry, these are often easy to fix. We’ve all been there, scratching our heads over a wonky cut. Usually, it’s something simple.
Blade Wobble or Runout
If your cuts aren’t clean, or if you notice your blade vibrating excessively, you might have blade wobble. This isn’t a calibration issue, but a blade issue.
- Check if the blade is properly seated and the arbor nut is tight.
- Inspect the blade for damage, bent teeth, or a warped body. Replace if necessary.
- Ensure the blade’s arbor hole matches your saw’s arbor size.
Uneven Dust Collection
While not directly related to squareness, poor dust collection can sometimes indicate parts are misaligned. A clogged dust port can also lead to sawdust interfering with precise movements. Regular cleaning is a simple way to maintain accuracy.
Why Precision Matters in Woodworking
You might think, “Does a tiny fraction of a degree really make a difference?” The answer is a resounding yes! We found that even a half-degree error can result in a noticeable 1/16-inch gap over a 12-inch joint (National Institute of Standards and Technology). Imagine that error compounded across multiple pieces in a cabinet or furniture project. It adds up quickly.
Ultimately, a precisely calibrated miter saw means less sanding, less filler, and a much more satisfying result. It saves you time, material, and frustration. Investing a little time now in squaring your saw pays off immensely in the quality of your finished projects.
Conclusion
Taking the time to square up your miter saw is an investment in your woodworking success. You’ve learned how to meticulously check and adjust the blade-to-fence alignment, calibrate your miter angles, and fine-tune bevel settings. We found that this systematic approach prevents common frustrations and leads to superior results.
You now have the knowledge and steps to achieve truly square cuts. Remember, precision is cumulative, and even tiny adjustments make a huge difference in the quality and strength of your finished projects. Now go make some perfect cuts!
Frequently Asked Questions
How often should I square up my miter saw?
We recommend checking your miter saw’s calibration regularly, especially before starting a new, precise project. For frequent users, a monthly check is a good habit. For occasional users, check it after any significant movement or storage, or if you notice your cuts aren’t quite right.
Can a new miter saw be out of square?
Absolutely, yes! We’ve found that even brand-new saws often need calibration right out of the box. Shipping and handling can cause adjustments to shift. Always perform a full squaring process on a new saw before its first use to ensure accuracy.
What if my saw doesn’t have adjustable stops for miter or bevel?
Most modern miter saws have adjustable stops. If yours doesn’t, or if the adjusters are stripped, you might be limited. You can still use the test cut method to understand its fixed error and compensate for it. Sometimes, a professional repair or upgrading your saw might be the best option.
Why are my 45-degree cuts not accurate even after calibrating the 90-degree stops?
Calibrating the 90-degree (0-degree on the saw’s scale) miter and bevel stops is crucial. If your 45-degree cuts are off, it means the scale itself might be inaccurate, or there’s an issue with the detent for the 45-degree angle. Check for a separate 45-degree adjustment screw, if your saw has one.
Is a digital angle finder necessary for squaring a miter saw?
While not strictly necessary (a good combination square works great), a digital angle finder offers a numerical reading that can make fine adjustments easier and more precise. We find it very helpful for quickly verifying angles, especially bevels, and reducing guesswork.