
How To Replace Brushes On Dewalt Miter Saw?
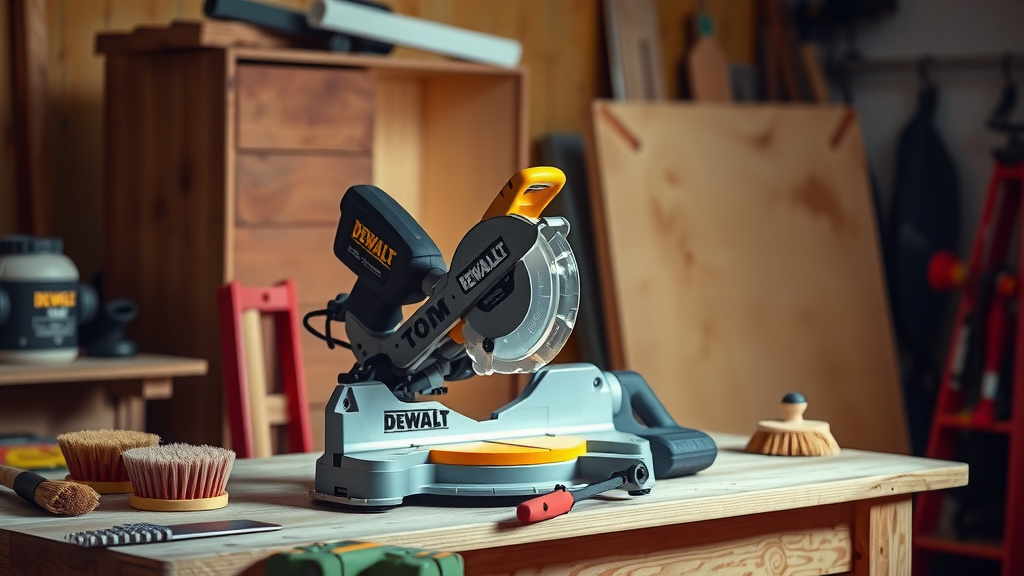
To replace brushes on your DeWalt miter saw, you first need to disconnect the power, then locate the brush caps, usually on the sides of the motor housing.
Carefully remove the caps, pull out the worn carbon brushes, and insert the new brushes, making sure they seat snugly before reattaching the caps.
TL;DR: Quick Brush Replacement Guide
- Always unplug your DeWalt miter saw before starting any work.
- Find the small brush caps on the motor; they often have a slot or hex head.
- Unscrew or unclip the caps and pull out the old, worn brushes.
- Slide in the new carbon brushes, ensuring the wire connector attaches properly.
- Replace the caps securely, then plug in and test your saw.
Hey there, fellow woodworker! Ever noticed your trusty DeWalt miter saw losing a bit of its pep? Maybe it’s sparking more than usual or just not starting up like it used to. Don’t fret! Often, the culprit is something quite simple to fix: worn-out carbon brushes. Think of them as tiny workhorses inside your motor, constantly making contact to keep things spinning.
Replacing these brushes isn’t some secret mechanic’s trick. It’s a straightforward task you can absolutely handle. We’ll guide you through each step, making sure your saw gets back to cutting smoothly and powerfully. Are you ready to bring your miter saw back to life?
How To Replace Brushes On Dewalt Miter Saw?
Replacing brushes on your DeWalt miter saw involves a few key steps: disconnect power, locate brush caps, remove old brushes, insert new ones, and secure the caps before testing. This process often takes just a few minutes.
Why Do Miter Saw Brushes Need Replacing?
Carbon brushes are a common wear item in many electric motors, including your miter saw. They conduct electricity to the motor’s spinning armature. Over time, friction naturally causes these carbon blocks to wear down. It’s just how they work.
When brushes get too short, they can’t make proper contact. This leads to reduced power, intermittent operation, or even the saw failing to start. We found that this is a very common issue for power tool longevity (Power Tool Institute).
When Is It Time for New Brushes?
Your miter saw often gives you clues when its brushes are saying their goodbyes. Keep an ear and an eye out for these signals. Catching them early can save you bigger headaches later on.
- Excessive Sparking: A little sparking is normal, but if you see a lot of bright, continuous sparks from the motor vents, it’s a big sign.
- Loss of Power: Does your saw struggle through cuts that were once easy? Weakness often points to brushes.
- Intermittent Operation: If the saw starts and stops unpredictably, or only works when you wiggle the cord, brushes could be the cause.
- Strange Noises: Grinding or unusual sounds coming from the motor might mean the brushes aren’t seating correctly or are worn out.
- Failure to Start: The saw might just hum or do nothing at all. This can be the final stage of worn brushes.
Gather Your Tools: What You’ll Need
Before you begin, make sure you have everything at hand. This helps the process go smoothly and quickly. You probably have most of these items already in your workshop.
| Tool/Item | Purpose |
|---|---|
| New DeWalt Carbon Brushes | The essential replacement parts. Make sure they are the correct model for your saw. |
| Screwdriver (Flathead or Phillips) | To remove brush caps or housing screws, depending on your saw model. |
| Pliers (Needle-nose or regular) | Helpful for gently pulling out stubborn brushes or disconnected wires. |
| Clean Cloth/Shop Towel | For wiping away dust and debris. |
The Step-by-Step Guide: Replacing Your Brushes
You’ve got your tools, you know the signs. Now, let’s get down to business. Remember, taking your time ensures a job well done and keeps you safe. We want to get your saw purring again.
Step 1: Safety First – Disconnect Power
This is the most important step, period. Always unplug your miter saw from the power outlet before you touch anything. Many safety guidelines point to disconnecting power first (OSHA standards). We don’t want any accidental startups!
Step 2: Locate the Brush Caps
On most DeWalt miter saws, the carbon brushes are housed in compartments on either side of the motor. Look for small plastic or metal caps. They might have a flathead slot, a Phillips head, or sometimes a hex head. Some models might require removing a part of the motor housing.
Step 3: Remove the Old Brushes
Using your screwdriver, carefully unscrew or unclip the brush caps. Once open, you should see the end of the carbon brush. Gently pull the brush straight out. Be aware that it’s often spring-loaded. Notice how the old brush looks – it will likely be shorter and unevenly worn compared to a new one.
Sometimes, the brush might be connected with a small wire clip. If so, gently detach it. Take a moment to inspect the interior for excessive dust or carbon buildup. A quick wipe with a clean cloth is always a good idea.
Step 4: Install the New Brushes
Take your new DeWalt carbon brush. It usually has a spring attached. Carefully slide the new brush into the compartment, ensuring the carbon end faces inward, ready to make contact with the motor’s commutator. Make sure the wire clip connects securely if your model uses one.
The spring should compress as you insert the brush, pushing it forward. This ensures proper contact. Double-check that it sits flat and doesn’t get jammed.
Step 5: Replace the Caps Securely
Once the new brush is in place, carefully screw or clip the brush cap back on. Don’t overtighten, but make sure it’s snug. Repeat steps 3, 4, and 5 for the brush on the other side of the motor. Both brushes usually wear at a similar rate, so it’s best to replace them as a pair.
Step 6: Test Your Saw
With both new brushes installed and caps secured, it’s time for the moment of truth! Plug your DeWalt miter saw back into the power outlet. Give it a quick test run. Does it start smoothly? Is the power back? Listen for any unusual sounds. Often, you might notice a slight increase in sparking initially as the new brushes seat themselves. This is normal and should subside quickly.
Post-Replacement Checklist
Just a quick rundown to make sure you’ve covered all bases after replacing those brushes. It’s like a final check before you tackle your next big project.
- Did you unplug the saw before starting? (Yes, always!)
- Are both old brushes removed and new ones installed?
- Are the brush caps securely fastened?
- Is the saw plugged back into a functioning outlet?
- Does the saw operate smoothly with full power?
- Did you hear any unusual grinding or excessive sparking during the first few runs? (A little seating spark is okay.)
Maximizing Brush Lifespan and Saw Performance
You’ve done the hard work, now let’s keep those new brushes happy for as long as possible. A little preventative care goes a long way. Many experts say that regular maintenance prolongs tool life considerably.
One simple tip is to regularly clean out the motor’s ventilation slots. Dust and debris can build up, causing the motor to overheat and accelerating brush wear. Also, avoid overloading your saw. Pushing it too hard can strain the motor and its components, including those precious carbon brushes.
Conclusion
Replacing the brushes on your DeWalt miter saw is a skill every DIY enthusiast or professional should feel comfortable with. It’s a simple, cost-effective repair that can save you from buying a whole new tool. By following these steps, you not only extend the life of your saw but also regain its full power and precision. You’ve got this, and your DeWalt is ready for many more projects!
Frequently Asked Questions
How often should I replace DeWalt miter saw brushes?
The frequency depends heavily on your usage. For occasional home use, brushes might last for years. For heavy daily use in a workshop, you might need to check and replace them every few months or once a year. Listen to your saw for the warning signs we discussed.
Can I use generic carbon brushes for my DeWalt saw?
While generic brushes might fit, we found that using genuine DeWalt replacement parts or high-quality aftermarket brushes designed specifically for your model is best. They ensure proper fit, material composition, and electrical contact, which can impact performance and tool longevity.
What happens if I don’t replace worn brushes?
Ignoring worn brushes can cause more serious damage to your miter saw’s motor. The commutator (the part the brushes make contact with) can get damaged, leading to more expensive repairs or even requiring a full motor replacement. It’s always better to address the issue early.
Is excessive sparking after new brush installation normal?
A small amount of increased sparking immediately after installing new brushes is generally normal. This is because the new brushes need a short “break-in” period to conform perfectly to the motor’s commutator. This sparking should subside within a few minutes of light use. If it continues or is very heavy, double-check your installation.
Where can I find the correct model number for DeWalt brushes?
Your DeWalt miter saw’s model number is usually on a label somewhere on the tool, often on the motor housing or base. Once you have the model number, you can easily look up the compatible brush part number online or at a hardware store. Always confirm compatibility before purchasing.


