
How To Cut Crown Molding Without A Miter Saw?
Cutting crown molding without a miter saw is absolutely achievable using simpler hand tools like a miter box and a sharp hand saw. With careful measurement and the right technique, you can create clean, professional-looking joints for your projects.
You can effectively cut crown molding angles, even complex ones, by understanding how to orient the molding in a miter box and employing a coping saw for precise inside corners.
Here’s a quick rundown of how you can tackle crown molding without that fancy miter saw:
- Grab your hand saw and a sturdy miter box for basic angle cuts.
- Measure twice (or even three times!) before making any cuts.
- Learn the “spring angle” of your molding for correct placement.
- Use a coping saw for those trickier inside corners for a seamless fit.
- Always test your cuts on scrap wood first to nail the technique.
How To Cut Crown Molding Without A Miter Saw?
Yes, you absolutely can cut crown molding without a miter saw. Many skilled trim carpenters have done it for years using basic hand tools and clever techniques.
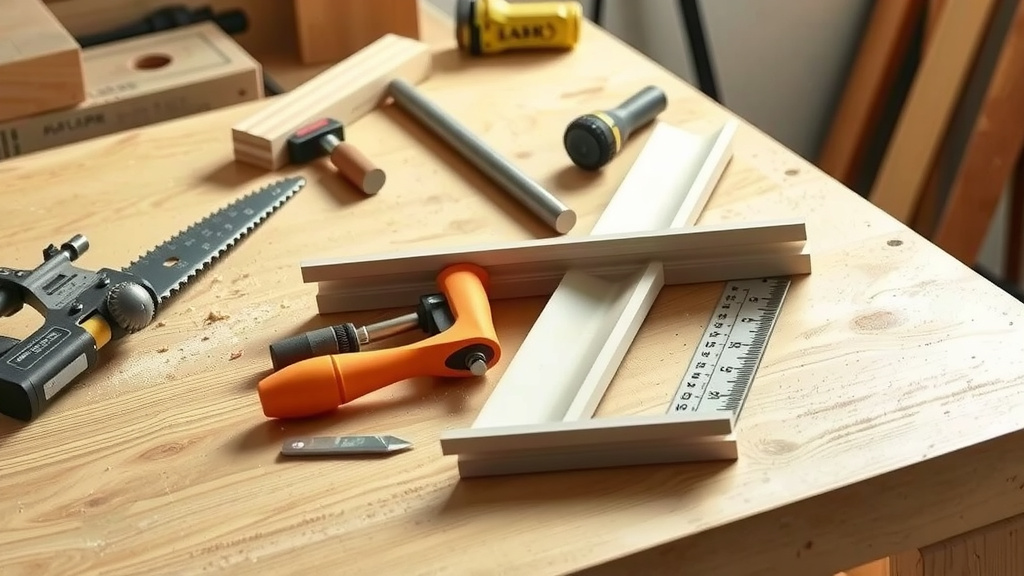
Your Essential Toolkit for Molding Magic
Don’t fret if you don’t own a powerful miter saw. We found that a few classic hand tools are perfectly capable of getting the job done. You just need the right setup and a bit of patience.
The Trusty Hand Saw and Miter Box Combo
Think of the miter box as your low-tech miter saw. This simple jig guides your hand saw to cut precise angles. It’s fantastic for both straight cuts and angled corners, which are essential for crown molding.
When selecting a hand saw, a sharp backsaw or a fine-tooth panel saw works best. These saws offer cleaner cuts and better control, preventing frustrating tear-out on your molding.
Mastering the Coping Saw for Inside Corners
For inside corners, a coping saw becomes your secret weapon. This small, U-shaped saw with a thin blade lets you cut intricate profiles. It helps create a joint that hides slight imperfections in your wall angles.
Many experts say that coping inside corners creates a much tighter, more forgiving joint than simple miter cuts. It’s a technique worth learning.
Decoding Crown Molding: Angles Made Easy
Crown molding isn’t flat against the wall; it “springs” out. This is why cutting it seems tricky. Understanding these angles is key to success.
The “Spring Angle” Secret
Every piece of crown molding has a “spring angle.” This is the angle at which it sits against your wall and ceiling. Common angles are 38 or 45 degrees.
Knowing your molding’s spring angle is vital for positioning it correctly in your miter box. You’ll usually cut it as if it were still installed, resting against the fence and base of the miter box.
Prepping for Perfection: Your Workspace and Materials
Before you make any cuts, take time to prepare. A well-organized workspace makes all the difference. Clear the area and ensure good lighting.
Accurate Measurements are Your Best Friend
You’ve heard it before: “measure twice, cut once.” For crown molding, make that “measure three times!” Use a reliable tape measure and mark your cuts clearly with a pencil.
Remember to consider both the length of the wall and the angles of your corners. Sometimes walls aren’t perfectly square, and you’ll need to adjust your angles slightly.
Setting Up Your Miter Box (or Jig)
Secure your miter box to a workbench or sturdy surface. This prevents it from shifting while you saw. We found that clamps work wonders for stability, ensuring your cuts are precise.
Place your crown molding in the miter box as it would sit on the wall – bottom edge against the fence, top edge against the base. This “upside down and backward” method often feels counter-intuitive but works.
The Actual Cutting Process: Miter Box and Coping Saw
Now for the fun part! Let’s get into making those cuts for clean, professional-looking corners.
Cutting Outside Corners: The Splayed Angle Technique
For outside corners, you’ll need two pieces of molding, each cut at a 45-degree angle. Place your molding in the miter box “upside down and backward.” For a right-hand outside corner, the saw typically cuts from left to right. For a left-hand outside corner, it cuts right to left.
Push your saw smoothly through the wood. Let the saw do the work; don’t force it. This prevents splintering and ensures a cleaner edge for a tight-fitting joint.
Tackling Inside Corners with a Coping Saw
Inside corners often benefit from a coped joint. Start by cutting one piece of molding straight into the corner. Then, for the adjoining piece, cut a 45-degree angle as you would for an outside corner.
Next, use your coping saw to follow the profile of that 45-degree cut, effectively “scooping out” the material. The goal is to create a profile that perfectly matches the face of the first piece of molding, allowing for a seamless overlap.
Practice Makes Perfect: Scrap Wood is Your Ally
Seriously, practice on scrap pieces. This allows you to get a feel for your tools and confirm your angles. It’s a small investment that saves time and material in the long run (NIH recommends practice for new skills!).
Troubleshooting Common Crown Molding Woes
Even with careful planning, you might encounter issues. Don’t worry, they are often fixable.
| Problem | Miter Box Solution | Coping Saw Solution |
|---|---|---|
| Small Gaps at Joints | Adjust angle slightly (1/2 degree). | Shave tiny bits off the cope. |
| Molding Won’t Sit Flat | Check wall/ceiling for bows. | Relieve backside of molding. |
| Tear-out on Cuts | Use a finer-tooth saw. | Cut slower, support molding. |
Many experienced DIYers say that small gaps can be filled with caulk or wood filler. However, striving for tight joints from the start will give you the best finish.
Your Crown Molding Success Checklist
Here’s a quick list to keep you on track for flawless crown molding installation:
- Gather all necessary tools: hand saw, miter box, coping saw, tape measure, pencil.
- Measure your walls and angles carefully, double-checking every dimension.
- Understand your crown molding’s spring angle for proper orientation.
- Secure your miter box and workpiece firmly to prevent movement.
- Practice cutting on scrap pieces to perfect your technique.
- Cut inside corners using the coping saw for the best fit.
Conclusion
Cutting crown molding without a miter saw might seem daunting at first, but it is definitely within your reach. With a good hand saw, a reliable miter box, and the precision of a coping saw, you possess everything you need. Embrace the process, take your time, and remember that careful measurement and practice are your greatest tools for a professional finish. You’ll soon be admiring your perfectly installed crown molding, a true testament to your skill and patience.
Can I cut crown molding with a circular saw instead of a miter saw?
You can use a circular saw for straight cuts on crown molding. However, making accurate angled cuts for corners is significantly harder without a miter guide or jig. It’s far more challenging to achieve precise, consistent angles needed for tight joints, and safety is a bigger concern.
How do I find the spring angle of my crown molding?
To find the spring angle, place a piece of molding flat against a wall, as it would be installed. Use a protractor or an angle finder to measure the angle between the back of the molding and the wall. Common spring angles are 38 or 45 degrees, but they can vary.
What is the “upside down and backward” method for cutting crown molding?
This method means you place the molding in your miter box or jig as if it were installed on the wall, but flipped. The part that rests on the ceiling goes against the miter box fence, and the part that rests on the wall sits flat on the miter box base. You then cut the angles as if you were looking at the room from the outside.
Is it better to miter or cope inside corners for crown molding?
Many experienced installers, and research often connects this with better results, prefer to cope inside corners. A coped joint is more forgiving of imperfect wall angles and seasonal wood movement, creating a tighter, more seamless fit over time compared to a simple mitered joint (many construction guides suggest this).
What are common mistakes to avoid when cutting crown molding without a miter saw?
Common mistakes include incorrect measurement, not understanding the spring angle, failing to practice on scrap wood, and not securing the molding or miter box during cuts. Rushing the process also often leads to errors. Take your time, re-measure, and always double-check your setup.


