Can You Use a Miter Saw Indoors?
On this page (7 sections)
Yes, you can use a miter saw indoors, but it comes with a few important warnings you’ll want to know. While convenient for indoor projects, using a miter saw inside means you’ll need to manage dust and debris very carefully. It’s not the ideal scenario for every situation, and proper preparation is key to keeping your workspace safe and clean.
Many DIYers wonder about this because it’s so much easier than hauling a saw outside. When working indoors, you’re trading convenience for increased risks of respiratory irritation and messes. We found that controlling sawdust is the biggest hurdle, and some tasks are just too messy for indoor use without serious precautions.
- Miter saws can be used indoors with precautions.
- The main concern is managing sawdust and airborne particles.
- Proper ventilation and dust collection are essential.
- Consider the scale of your project and the mess involved.
- Always prioritize safety and a clean workspace.
Let’s walk through exactly what you need to consider and how to make indoor miter saw use as safe and clean as possible. This guide explains if a miter saw is safe for beginners and how to use it properly.
Taking Your Miter Saw Indoors: What You Need to Know
Yes, you absolutely can use a miter saw indoors. It’s a common question for DIYers and hobbyists alike. Many of us prefer working in a controlled environment, away from the unpredictable weather and insects. However, doing so brings its own set of challenges. The biggest one, as you might guess, is sawdust. It gets everywhere! We found that with the right precautions, indoor use is manageable for many projects.
The Sawdust Problem: More Than Just a Mess
Sawdust isn’t just annoying; it can be a real health hazard. Fine wood particles can easily become airborne. Breathing them in regularly can cause respiratory irritation. This is especially true if you’re cutting materials like MDF or pressure-treated lumber, which contain chemicals. Many experts recommend that prolonged exposure to fine dust particles can lead to serious lung conditions over time (CDC). So, what can you do about it?
Controlling the Dust: Your First Line of Defense
The absolute first step is to invest in dust collection. Most miter saws have a port for attaching a vacuum cleaner or a dedicated dust collector. Research and found that using a shop vac with a good filter is a decent start for smaller jobs. For more intensive work, a dedicated dust collection system makes a huge difference. It captures a significant amount of the sawdust right at the source. Our guide to essential miter saw accessories explains the importance of dust collection.
Choosing the Right Vacuum or Collector
When selecting a vacuum, look for one with a HEPA filter if possible. This type of filter is designed to trap very fine particles. For dust collectors, a two-stage system is often best. It separates larger debris from finer dust before it clogs your filters. We found that many DIYers overlook this step, and it’s the most impactful for indoor air quality.
Enhancing Ventilation: Letting Fresh Air In
Even with dust collection, some fine particles will escape. That’s where ventilation comes in. If you’re in a garage, opening the doors is your best bet. If you’re in a room within your house, consider opening windows and using fans. Place fans strategically to create airflow that pulls the dust away from you and towards an exit. We found that cross-ventilation is most effective.
Air Purifiers for the Rescue
An air purifier with a good filter can also help. Running one in the room while you work can capture airborne dust that escapes your primary collection and ventilation efforts. Look for models specifically designed for capturing fine dust particles. Think of it as a last line of defense for your lungs.
Safety First: Beyond Just Dust
Using a miter saw indoors also requires a heightened awareness of general safety. Unlike an outdoor space, you have walls, furniture, and potentially pets or family members nearby. A stray kickback or a runaway piece of wood can cause damage or injury more easily in an enclosed space.
Clearing Your Workspace: Room to Breathe (and Cut!)
Before you even plug in the saw, clear the area. You need ample space around the saw for both yourself and the material you’re cutting. Remove anything that could be knocked over or damaged. This also gives you a clear path in case you need to move quickly. We found that a cluttered workspace is an invitation for accidents.
Securing Your Material: No Surprises Allowed
Always ensure your workpiece is securely clamped to the saw’s table. This prevents movement during the cut, which can lead to inaccurate results or dangerous kickback. Some materials, especially smaller pieces, require extra attention. If you’re cutting anything small, consider using a push stick or a clamp jig for safety. We research and found that secure material is a hallmark of safe cutting practices.
Personal Protective Equipment (PPE): Your Best Friends
This is non-negotiable, whether indoors or out. You need to wear safety glasses or a face shield to protect your eyes from flying debris. Hearing protection is also essential, as miter saws can be very loud. For a better sense of the sound level, see how loud a miter saw is. And, of course, a respirator mask is vital for protecting your lungs from fine dust particles. Don’t skimp on PPE; it’s your primary shield.
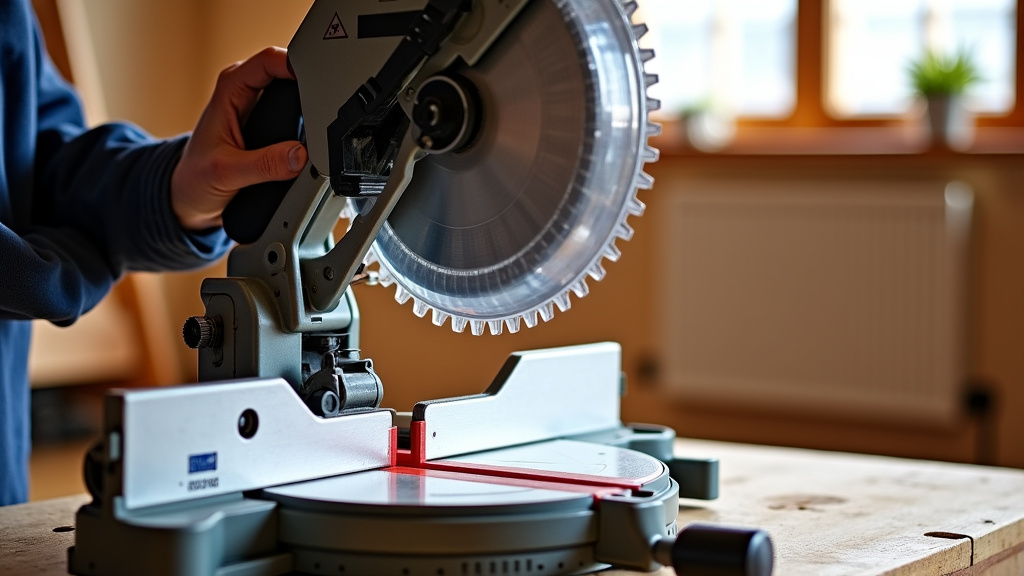
Project Scope: When Indoor Use Makes Sense (and When It Doesn’t)
The size and nature of your project play a big role in whether indoor use is practical. Small trim work or cutting a few pieces of molding is generally fine with proper precautions. However, a large construction project involving ripping long boards or creating massive amounts of dust might be better suited for an outdoor setting, even if it’s less convenient.
Small Projects vs. Large Jobs
Cutting baseboards for a single room? Likely manageable indoors. Building an entire deck or framing a shed? Probably not. The sheer volume of dust generated by larger projects can overwhelm even the best dust collection systems indoors. Plus, the risk of airborne particles lingering for days increases with the scale of the work. We found that many users learn this lesson the hard way.
Type of Material Matters Too
Cutting softwoods like pine is generally less problematic than hardwoods or engineered wood products. Materials like MDF or particle board produce very fine, powdery dust that is particularly difficult to control and more irritating to the lungs. Some experts advise extreme caution or avoidance for indoor use with these materials (OSHA). Always check the safety data sheet for the material you are cutting.
Making the Decision: Weighing Convenience and Caution
So, can you use a miter saw indoors? Yes. But it’s not a simple yes. It requires planning, the right equipment, and a commitment to safety. Think of it like cooking: you can whip up a gourmet meal in your kitchen, but you wouldn’t typically deep-fry a turkey inside, right? Some things are just inherently messier and riskier in enclosed spaces.
Your Indoor Miter Saw Checklist
Before you power up your saw inside, consider running through this quick checklist:
- Is my workspace clear and spacious?
- Do I have effective dust collection attached?
- Is my material securely clamped?
- Am I wearing all my PPE (glasses, hearing, mask)?
- Is there adequate ventilation or an air purifier running?
- Is the project scope manageable for indoor dust levels?
By carefully considering these points, you can make an informed decision about using your miter saw indoors and ensure you’re taking all the necessary steps to protect yourself and your home.
Conclusion
You absolutely can use a miter saw indoors, but it demands your full attention. We’ve seen that the primary battle is against sawdust, which requires dedicated dust collection and good ventilation. Beyond dust, remember to clear your space, secure your material, and always wear your personal protective equipment. Weigh the scope of your project and the material type before you start. By taking these thoughtful precautions, you can safely and successfully complete indoor projects with your miter saw. Your next step is to assess your current setup and gather any necessary dust collection or PPE you might be missing before your next cut. If your saw needs a longer reach, check the right extension cord gauge for it.
Frequently Asked Questions
How much sawdust does a miter saw actually produce indoors?
The amount of sawdust varies greatly by project size and material. Even small cuts can produce a noticeable cloud of dust. We research and found that cutting MDF or pressure-treated wood creates especially fine, difficult-to-control dust. Proper dust collection is key, regardless of the volume.
Can I get away with just opening a window and using a fan?
Opening a window and using a fan helps with general air circulation, but it’s often not enough on its own for effective dust control. While it aids ventilation, it won’t capture the fine particles at the source. For true protection, combine ventilation with a dust collection system and a respirator mask.
What’s the best type of mask for cutting indoors?
You’ll want to use a respirator mask, not just a basic dust mask. Look for one rated for fine dust particles, often labeled N95 or higher. We found that this type of mask offers the best protection against the fine wood dust that can cause respiratory irritation and long-term lung issues.
Is it safe to cut pressure-treated lumber or MDF indoors?
Cutting pressure-treated lumber and MDF indoors is generally not recommended without extreme precautions. These materials release harmful chemicals and very fine dust that is difficult to manage. If you must cut them inside, ensure you have excellent dust collection, superior ventilation, and a high-quality respirator.
How long does sawdust stay airborne indoors?
Fine sawdust particles can remain suspended in the air for a surprisingly long time, sometimes hours. This is why ventilation and air purification are so important even after you finish cutting. We found that without these measures, you could be breathing in residual dust long after your miter saw is put away.