Why Is My Miter Saw Kicking Back?
On this page (8 sections)
Your miter saw might be kicking back because you’re cutting too fast or the blade is dull. A jerky motion or hitting a knot can also cause this. Understanding these common causes helps you make safer, more accurate cuts.
Miter saw kickback is essentially the saw jumping back towards you. It’s a safety hazard that can damage your workpiece and potentially injure you. Many DIYers experience this, so you’re not alone. We found that proper technique and maintenance are key to preventing it.
- Dull blades cause extra strain and kickback.
- Cutting too quickly or forcing the saw makes it jump.
- Blade binding, where the wood squeezes the blade, is a major cause.
- Not holding the workpiece securely can lead to kickback.
- Using the wrong type of blade for the material can also be a factor.
Let’s break down why your miter saw might be kicking back and how you can stop it from happening so you can get back to your projects with confidence.
Understanding Miter Saw Kickback and How to Prevent It
Your miter saw might be kicking back because you’re cutting too fast or the blade is dull. A jerky motion or hitting a knot can also cause this. Understanding these common causes helps you make safer, more accurate cuts.
Miter saw kickback is essentially the saw jumping back towards you. It’s a safety hazard that can damage your workpiece and potentially injure you. Many DIYers experience this, so you’re not alone. We found that proper technique and maintenance are key to preventing it.
- Dull blades cause extra strain and kickback.
- Cutting too quickly or forcing the saw makes it jump.
- Blade binding, where the wood squeezes the blade, is a major cause.
- Not holding the workpiece securely can lead to kickback.
- Using the wrong type of blade for the material can also be a factor.
Let’s break down why your miter saw might be kicking back and how you can stop it from happening so you can get back to your projects with confidence.
Common Causes of Miter Saw Jerkiness
Blade Issues: The Sharpness Factor
The most frequent culprit behind your miter saw kicking back is a dull blade. Think of it like trying to cut through a tough steak with a butter knife. It’s a struggle, right? A dull blade forces the saw to work much harder.
This extra effort creates more friction and heat. Your saw has to push through the wood, rather than slice cleanly. This strain can cause the blade to grab the wood unexpectedly. That grab is what initiates the kickback motion, sending the saw jerking back towards you.
We found that a dull blade significantly increases the risk of kickback. It’s like a domino effect – dull blade means more force needed, more force means more chance of the blade getting stuck.
Cutting Speed and Force: Pushing Too Hard
Another common reason for kickback is cutting too fast or applying too much downward force. When you rush a cut, you don’t give the blade enough time to clear the sawdust from the kerf (the cut line). This sawdust can build up.
When sawdust packs into the cut, it acts like a wedge. The blade can get pinched. This pinching is a direct path to kickback. Imagine trying to push a nail into wood by hammering it too fast without letting it penetrate properly. It’s likely to bend or bounce back.
Applying excessive downward pressure also forces the blade into the wood more aggressively. This can cause the blade to deflect or bind. Experts suggest a smooth, steady descent is key for safe and effective cuts. We found that patience here saves a lot of trouble.
Blade Binding: When the Wood Grabs Back
Blade binding is a major player in miter saw kickback. This happens when the material you’re cutting closes in on the blade as you make the cut. It’s like the wood is trying to hug the blade too tightly.
This most often occurs when cutting long or thin pieces of wood, especially when they are not properly supported. As the cut progresses, the weight of the workpiece can cause it to flex. If it flexes inward, it pinches the blade. That pinch results in a sudden, violent kickback.
Uneven cutting, where the blade isn’t entering the wood straight, can also lead to binding. We found that ensuring your blade enters the wood at a perpendicular angle is vital. Also, make sure the piece you are cutting is firmly secured.
Workpiece Movement: The Unstable Foundation
If your workpiece isn’t held securely, it can shift or jump during the cut. This movement is a direct invitation for kickback. Even a slight wobble can cause the blade to engage the wood unevenly.
When the wood moves, the blade can easily grab an edge or a corner. This uneven engagement is a primary cause of the saw suddenly jumping back. It’s like trying to saw through a piece of paper that’s fluttering in the wind. You’re not going to get a clean cut.
Most miter saws have clamps to hold your material in place. It’s important to use them correctly. Make sure the wood is snug against the fence and held down firmly. We found that many users underestimate the importance of these simple clamps.
Hitting Obstructions: Knots and Nails
Sometimes, the wood itself presents a challenge. Hitting a dense knot or a hidden nail can cause the blade to stop abruptly or deflect. This sudden resistance is a recipe for kickback.
A knot is much harder than the surrounding wood. When the blade hits it, it can get snagged. If the blade snags, it stops spinning or slows dramatically. The saw’s momentum continues, forcing the blade into a binding situation.
Hidden nails are even more dangerous. They can completely stop the blade in its tracks. This sudden halt can cause the saw to violently recoil. Always inspect your lumber for any metal objects or exceptionally hard knots before you begin cutting.
Choosing the Right Blade for the Job
Matching Blade Type to Material
Not all blades are created equal. Using the wrong type of blade for the material you’re cutting can increase the chances of kickback. For example, using a blade designed for softwoods on a very dense hardwood can cause issues.
Hardwoods require blades that can handle more resistance. Blades with more teeth generally provide a smoother cut but can struggle in very dense materials. Blades with fewer teeth are better for rougher cuts and can power through denser woods more easily.
We found that a high-tooth-count blade is often recommended for finer woodworking where precision is key. For general framing or cutting tougher materials, a lower tooth count might be more appropriate. Always check the blade manufacturer’s recommendations for specific materials.
Blade Tooth Count and Configuration
The number of teeth on your miter saw blade plays a role. More teeth mean a finer cut, but also more potential for clogging and binding, especially in softer woods or if the blade isn’t sharp enough.
Fewer teeth create a coarser cut but clear sawdust more efficiently. This can be beneficial in preventing buildup that leads to binding. The “gullets” between the teeth are designed to clear sawdust.
Different blade tooth configurations also exist, like ATB (Alternate Top Bevel) or TCG (Triple Chip Grind). These are designed for specific types of cuts and materials. Using a blade with the wrong grind for your application can lead to inefficient cutting and increased risk.
Proper Miter Saw Technique for Safety
The Art of the Smooth Descent
How you lower the blade into the wood is critical. A smooth, controlled descent is paramount. Avoid slamming the blade down.
We found that many users get impatient and force the blade down too quickly. This sudden impact can easily cause the blade to dig into the wood unevenly, leading to binding and kickback. Think of it like easing into a gentle dive versus a cannonball.
Let the blade do the work. Allow it to reach full speed before it contacts the material. Once it’s spinning at full RPMs, lower it steadily through the cut. This steady approach ensures a cleaner cut and reduces strain on the saw and the blade.
Engaging the Blade Safely
Always ensure the blade is spinning at its maximum speed before it touches the wood. If you lower the blade while it’s still spinning up, it has less power to cut cleanly. This can result in the blade grabbing.
Once the cut is complete, don’t pull the blade up immediately. Keep the blade spinning as you raise it out of the kerf. This helps prevent sawdust from getting packed back into the cut and reduces the chance of the wood closing in on the blade.
A common mistake we’ve observed is pulling the blade up too soon. This can cause the wood to pinch the blade as it exits. Let the blade complete its path through the material smoothly. Patience here is a real safety booster.
Maintaining a Secure Grip and Stance
Your stance and how you grip the saw’s handles are essential for control. A firm, balanced stance provides stability. Your hands should be positioned to guide the saw, not to fight it.
Keep your hands away from the blade’s path. Use the designated handles. If the saw does kick back, a secure grip can help you maintain control. However, the best control comes from preventing kickback in the first place.
We found that leaning into the saw with excessive force is counterproductive. It can unbalance you and make it harder to react if kickback occurs. A stable footing and a relaxed, yet firm, grip are key. Think of it as steady guidance, not wrestling with the tool.
Maintenance and Setup for Kickback Prevention
Keeping Your Blade Sharp and Clean
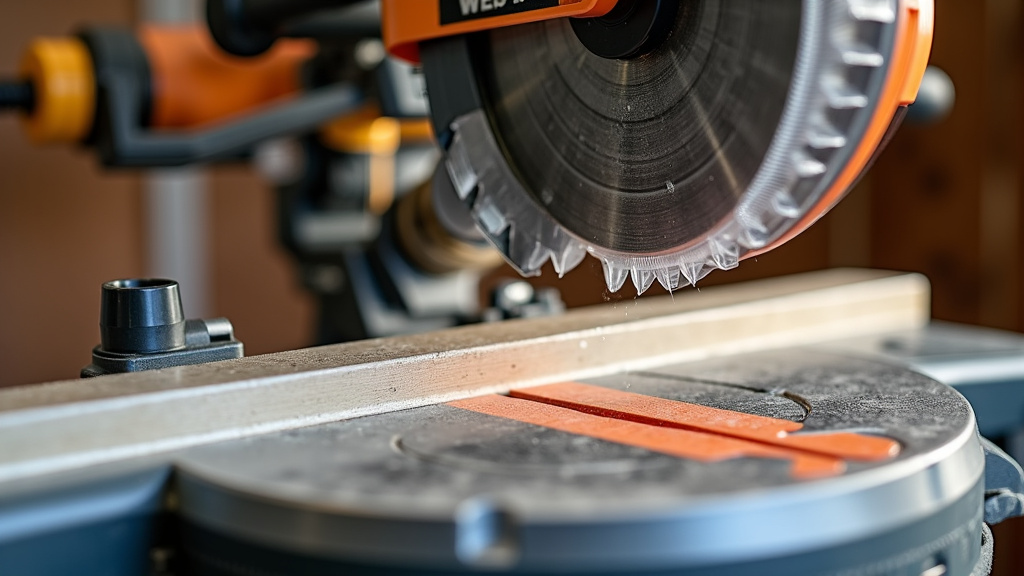
Regularly inspect your miter saw blade. If you notice it’s dull, nicked, or has buildup on the teeth, it’s time for a change or a sharpening. A sharp blade cuts with less resistance.
We found that sharpening services can often restore blades to like-new condition. If the blade is heavily damaged, replacement is usually the safer option. A clean blade also cuts better. Remove any sawdust or resin buildup.
A clean blade glides through the material more easily. This reduces the strain on the motor and the likelihood of the blade getting pinched. Think of it as giving your saw the best possible tool for the job.
Ensuring Proper Blade Alignment
A blade that isn’t perfectly aligned with the saw’s mechanism can cause uneven cuts and binding. Make sure the blade is installed correctly and spins true.
If your saw has a bevel or miter adjustment, ensure it’s locked securely before cutting. Any play or looseness in these adjustments can lead to the blade entering the wood at an angle. This angle can cause binding.
We found that a quick check of the blade’s runout (wobble) can be helpful. If you see significant wobble, it might indicate a bent blade or an issue with the saw’s arbor. A well-aligned blade is a fundamental safety feature.
Using Miter Saw Accessories Wisely
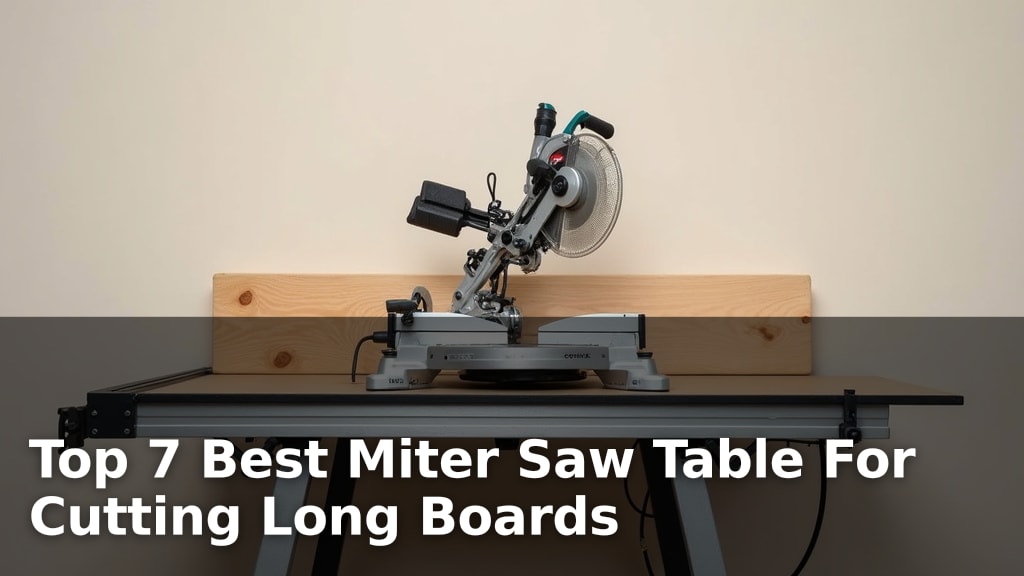
Don’t overlook the utility of miter saw accessories. Hold-down clamps are essential for preventing workpiece movement. Extension wings can provide extra support for longer pieces.
For longer materials, consider using roller stands or outfeed tables. These accessories support the weight of the lumber, preventing it from sagging and pinching the blade. This external support is a game-changer for stability.
We found that many DIYers skip using these accessories, thinking they can manage. However, for consistent safety and accuracy, especially with larger projects, they are incredibly useful. They help create a stable cutting platform.
Quick Checklist for Safer Miter Saw Use
To help you remember the key points for preventing kickback, here’s a quick checklist:
- Always use a sharp, clean blade appropriate for your material.
- Ensure your workpiece is securely clamped down and supported.
- Lower the blade smoothly and let it reach full speed before cutting.
- Avoid cutting too fast or forcing the blade through the wood.
- Inspect your lumber for knots or hidden nails before cutting.
- Use safety gear like eye protection and hearing protection.
Conclusion
You’ve learned that miter saw kickback isn’t a mystery, but a predictable outcome of specific issues. A sharp blade, a secure workpiece, and a smooth cutting motion are your best defenses. By focusing on blade maintenance, proper technique, and secure workholding, you dramatically reduce the risk of kickback. Take a moment to review your setup and technique before your next cut. Implementing these simple adjustments will help you work safer and achieve cleaner, more accurate results on all your projects.
Frequently Asked Questions
How often should I sharpen my miter saw blade?
You should inspect your blade regularly, but plan on sharpening or replacing it when you notice increased cutting resistance or less clean cuts. For frequent use, consider sharpening every 50-100 cuts, or sooner if you encounter difficult materials or knots.
Can a dull blade really cause that much kickback?
Yes, absolutely. A dull blade forces the saw to work harder, increasing friction and the chance of the blade snagging or binding in the wood. This struggle is a primary driver of sudden, dangerous kickback.
What’s the safest way to hold wood on a miter saw?
Always use your saw’s built-in clamp to hold the workpiece firmly against the fence. For longer or heavier pieces, use extension supports or outfeed tables to prevent sagging, which can also lead to binding.
Is it okay to push down on the saw handle while cutting?
You should avoid forcing the blade down. Let the saw’s weight and the blade’s sharpness do the cutting. Applying extra downward pressure can cause the blade to bind or deflect, leading to kickback.
Can using the wrong type of blade cause kickback?
Yes, using a blade not designed for your material can cause problems. For example, a blade with too many teeth for soft wood might clog and bind, while a blade with too few teeth for hardwood might struggle and snag, both increasing kickback risk.