
How to Cut Long Boards with a Miter Saw?
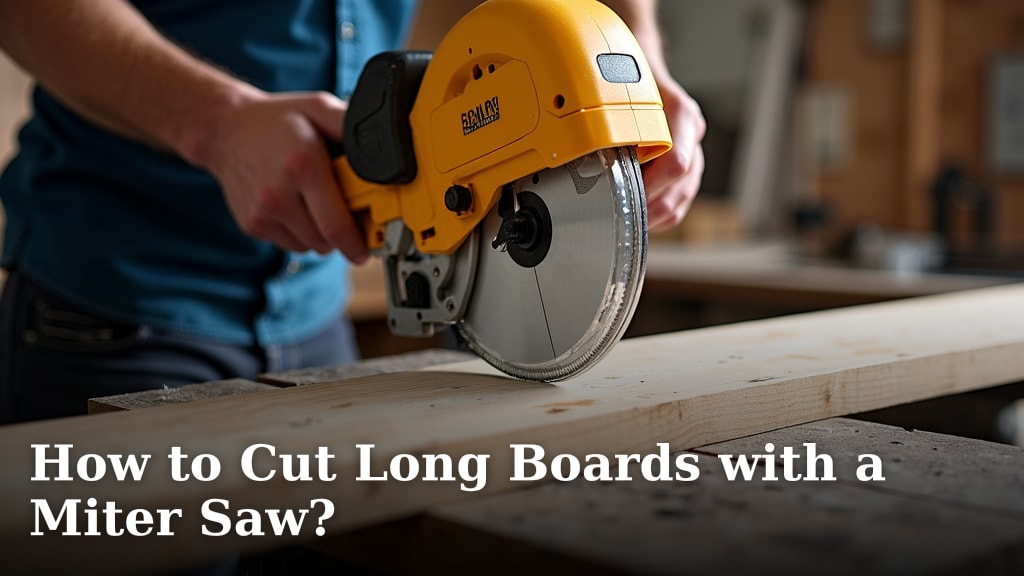
You can safely and accurately cut long boards with a miter saw by using proper support and a methodical approach. The key is to prevent the board from tipping or sagging, which can cause unsafe cuts or damage your material. With a few simple tools, you can manage these longer pieces of wood.
Working with long lumber, like 2x4s or trim pieces, can feel challenging on a miter saw. We found that proper setup is more important than raw strength. You will need to think about outfeed and infeed support to handle the board’s weight and length effectively.
TL;DR:
- Use stable support for long boards.
- Measure twice, cut once for accuracy.
- Keep hands clear of the blade path.
- Secure boards properly before cutting.
- Take your time and prioritize safety.
Ready to tackle those longer pieces? Let’s walk through exactly how to safely cut long boards with a miter saw, step by step.
Setting Up Your Miter Saw for Long Board Cuts
Proper setup is the bedrock of safe and accurate long board cutting. Before you even touch the saw, you need to create a stable, supportive environment for your material. This prevents dangerous wobbles and ensures clean cuts every time.
Prioritizing Safety Measures First
Your personal safety is always the top priority. Before you power on any tool, take a moment to ensure you’re protected. We found that a few simple steps can make a big difference in preventing accidents (Occupational Safety and Health Administration).
Personal Protective Equipment (PPE) Essentials
Always wear safety glasses or goggles to shield your eyes from flying debris. Wood dust can irritate your lungs, so a dust mask is also a smart choice, especially if you’re making many cuts. Hearing protection, like earmuffs or earpl,ugs, is crucial for protecting your hearing over time from the loud saw motor.
Workspace Check and Clearing
Clear your work area of any clutter, tools, or anything that could get in the way of the board or your movement. Ensure you have ample space around the saw for the full length of the board. A clean workspace helps you focus and move freely, reducing trip hazards.
Stabilizing Your Miter Saw
A wobbly saw is a dangerous saw. Make sure your miter saw is securely mounted. If it’s on a stand, check that the stand is stable and locked. If it’s on a workbench, ensure it’s clamped down firmly. Movement in the saw itself can throw off your measurements and compromise safety.
Essential Support for Long Boards
Long boards need support on both sides of the saw. Imagine trying to balance a long stick on one finger – it’s tough, right? The same applies to your lumber. You need to account for both infeed (entering the saw) and outfeed (exiting the saw) support.
Selecting the Right Support Tools
There are several options for supporting long boards, and the best choice often depends on what you have available. The goal is to keep the board level with the saw’s table. We found these tools to be highly effective:
- Roller Stands: These are fantastic for outfeed support. The rollers let the board move smoothly through the cut without binding.
- Sawhorses with a Sacrificial Board: Place a sturdy, flat board across two sawhorses. This creates a wide, stable surface for the lumber. Make sure the sacrificial board is level with your saw deck.
- Dedicated Miter Saw Stands: Many miter saw stands come with adjustable wings or extensions designed specifically for this purpose. These are often the most convenient solution. Our guide to the best miter saw stand can help you choose the right one for your needs.
- Stack of Lumber or Blocks: As a temporary or budget-friendly option, you can stack scrap wood or sturdy blocks to the correct height. Just ensure they are stable and won’t tip over.
Matching the Height of Your Support
This is critical. Your support surfaces must be perfectly level with your miter saw’s bed. If the support is too high, the board will bind against the fence. If it’s too low, the board will sag, creating an angled cut or potentially pinching the blade. Use a straightedge or a long level to verify the alignment. Think of it like a perfectly flat bridge for your board to travel on.
Measuring and Marking for Precision Cuts
Accuracy starts long before the blade spins. Taking your time with measurements and marking correctly will save you headaches and wasted material. Remember the old adage: “Measure twice, cut once.”
Using the Right Measuring Tools
A good quality tape measure is your best friend here. For finer measurements, a ruler or a combination square can be helpful. Ensure your tape measure is accurate and not bent or damaged at the tip, as this can throw off every measurement.
Techniques for Accurate Marking
When marking your cut line, use a sharp pencil or a utility knife. A fine line is much easier to align with the saw blade than a thick, smudged one. If you’re cutting multiple pieces to the same length, consider making a stop block. This ensures consistency and saves time.
Understanding Your Saw’s Kerf
The “kerf” is the amount of material the saw blade removes. It’s the thickness of the blade itself, usually around 1/8 inch. You need to account for this. When you mark your line, decide which side of the line the waste material will be on. We found that most people prefer to keep the marked line on the “good” side of the wood, cutting off the waste. This ensures your finished piece is the exact length you intended.
| Marking Strategy | Description | Result |
|---|---|---|
| On the Waste Side | Place the blade’s edge on the outside of your mark, letting the kerf remove the marked line. | Final piece matches length precisely to the inside edge of your mark. |
| On the Keep Side | Place the blade’s edge on the inside of your mark, leaving the marked line on your final piece. | Final piece will be slightly longer than intended by the kerf’s thickness. |
| Split the Line | Align the blade directly over the center of your pencil line. | Less precise; can result in piece being slightly shorter or longer depending on blade alignment. |
Executing the Cut Safely and Smoothly
With your setup complete and your markings precise, it’s time to make the cut. This stage requires your full attention and adherence to safe operating procedures.
Positioning the Board Correctly
Slide the long board onto your miter saw station. Ensure it rests flat against the fence and on the saw’s bed, as well as on your infeed and outfeed supports. Double-check that there’s no gap between the board and the fence. Any movement here can lead to an inaccurate or unsafe cut.
Securing the Workpiece
You cannot cut a long board by simply holding it with your hands. Even a slight shift can cause kickback or an uneven cut. This is where clamps become your best friend. Use a clamp to secure the board firmly against the miter saw fence. This prevents movement during the cut. For very long or heavy boards, you might need a second clamp on the outfeed side, if your setup allows for it without interfering with the blade path.
- Always ensure clamps are clear of the blade’s path.
- Don’t overtighten, but make sure the board is immovable.
- Test the stability of the clamped board before powering on the saw.
Making the Cut: A Step-by-Step Guide
Once everything is secure, you’re ready to make your cut. Take a deep breath and stay focused. Many experts say that a steady, deliberate motion is key to a clean cut (Woodworking Journal).
Engaging the Blade
With your hands clear of the blade, power on the saw. Let the blade reach full speed before lowering it into the wood. This helps prevent splintering and reduces strain on the motor. Listen for that consistent whine of the motor at full RPM.
Performing the Cut
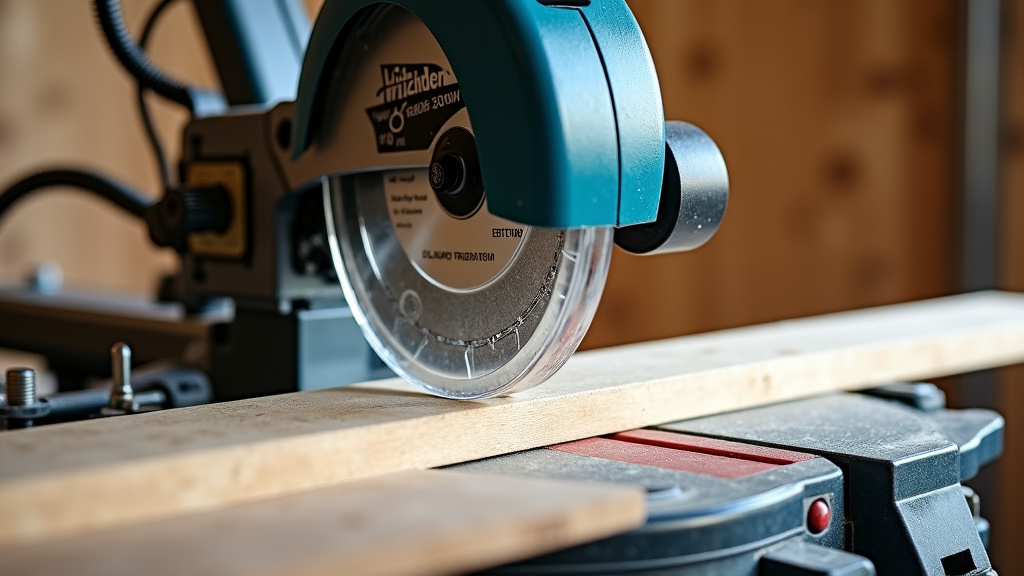
Gently and steadily bring the saw blade down through the board. Don’t force it; let the blade do the work. If you push too hard, you risk bogging down the motor, causing a rough cut, or even kickback. Maintain a consistent downward pressure until the cut is complete. As the blade passes through the wood, the waste piece will fall away or be supported by your outfeed setup.
Retracting the Blade Safely
Once the cut is finished, keep the saw powered on and slowly lift the blade back up to its starting position. Only turn off the saw once the blade is fully retracted and clear of the workpiece. Wait for the blade to come to a complete stop before removing the cut pieces or adjusting the material. This prevents accidental contact with a spinning blade.
Troubleshooting and Common Challenges
Even with the best preparation, you might encounter issues when cutting long boards. Knowing how to troubleshoot can save your project and keep you safe.
Addressing Board Movement During the Cut
If your board shifts, even slightly, immediately stop the saw, lift the blade, and turn off the power. Re-evaluate your clamping and support. Was the clamp tight enough? Was the support level? It’s always better to stop and adjust than to risk a bad cut or injury. We found that most movement issues stem from inadequate clamping or uneven support surfaces.
Dealing with Blade Binding
Blade binding happens when the wood pinches the blade, causing the saw to strain or even stop. This is often due to the board sagging or shifting during the cut. Again, stop the saw safely. Examine your support system. Ensure the board is perfectly level on both sides of the blade. Sometimes, if the board is under tension (e.g., bowed lumber), the cut can cause it to pinch. In these cases, you may need to adjust your approach or use a different tool if the miter saw isn’t suitable for the specific type of material stress.
Preventing Tear-Out or Splintering
Tear-out, especially on the underside of the wood, can be frustrating. To minimize this, ensure your blade is sharp and appropriate for the material you’re cutting. A blade with more teeth generally provides a smoother cut. A common technique is to use a zero-clearance insert on your miter saw, which provides more support directly under the cut line. Another method is to apply painter’s tape along the cut line before marking, as this can help hold the fibers down.
Your Checklist for Cutting Long Boards
Here’s a quick recap of the essential steps to ensure a safe and successful cut:
- Wear all necessary PPE (safety glasses, hearing protection, dust mask).
- Ensure your miter saw is stable and securely mounted.
- Set up infeed and outfeed supports that are perfectly level with the saw bed.
- Measure your cut meticulously and mark with a fine line, accounting for kerf.
- Securely clamp the board against the fence before starting the saw.
- Allow the blade to reach full speed before slowly cutting through the material.
Conclusion
Cutting long boards with your miter saw is completely achievable, and you don’t need a huge workshop to do it. We found that attention to detail in your setup, focusing on stable support and secure clamping, makes all the difference. Prioritizing safety through proper PPE and a clear workspace is always your first step.
You now have the steps to confidently approach those longer pieces of lumber. Take your time, trust your measurements, and always keep safety front and center. Go ahead and tackle that next project with precision and peace of mind!
Frequently Asked Questions
Can I use a regular miter saw for really long boards, like 12 feet?
Yes, you absolutely can! The length of the board isn’t the issue, it’s about providing adequate and stable support on both sides of your miter saw. We found that roller stands or a well-constructed outfeed table are essential for boards this long.
How do I prevent the board from tipping when I’m cutting a long piece by myself?
Preventing tipping is key, especially when working alone. We found that using two points of stable support on the outfeed side, like two roller stands or sawhorses with a sacrificial board, greatly increases stability. Secure clamping also prevents the board from shifting during the cut.
Is it better to push or pull the miter saw blade through a long board?
For most miter saws, you should pull the saw head forward, lower the blade, and then push it steadily back through the wood. This technique helps prevent tear-out on the top surface. Always let the blade get to full speed before it touches the wood.
What if my long board has a slight bow or curve?
Working with bowed lumber can be tricky. Try to place the bowed side facing up or down, making sure the board rests flat against your saw’s fence. Clamping it securely helps flatten it temporarily for the cut. Sometimes, you may need to cut slightly longer pieces and then trim them to exact size.
Should I support the waste piece or the keeper piece when cutting a long board?
It’s always best to primarily support the “keeper” piece – the part of the board you intend to use. While supporting the waste piece helps prevent it from falling, your main focus should be ensuring the desired piece remains stable and properly aligned throughout the cut.
